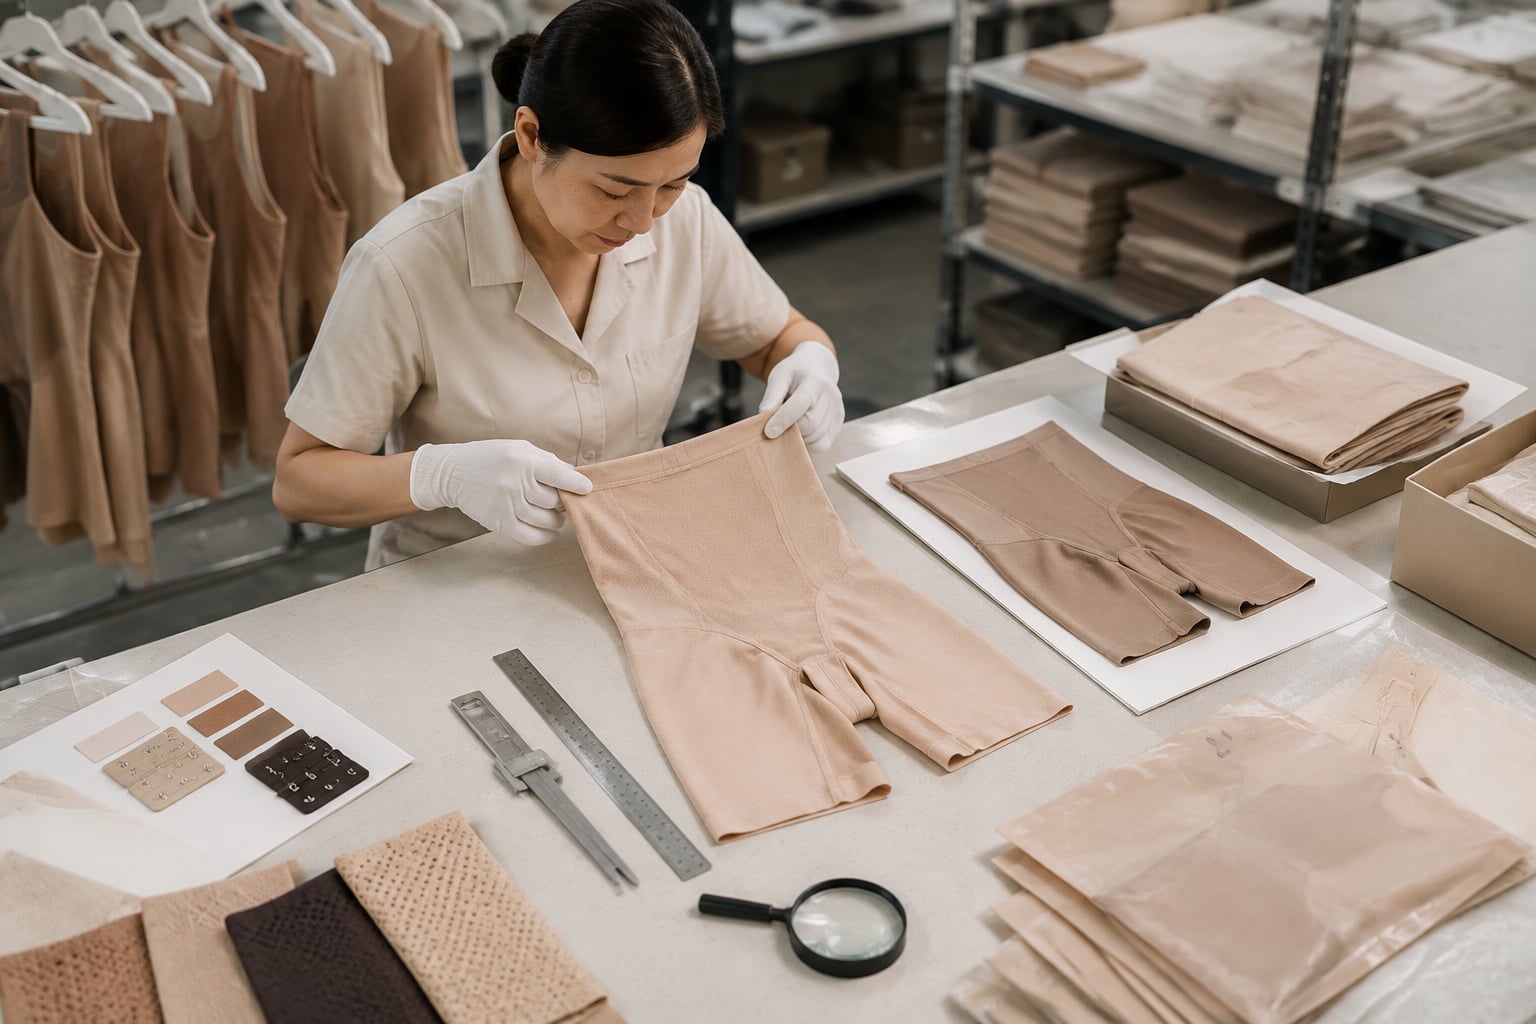
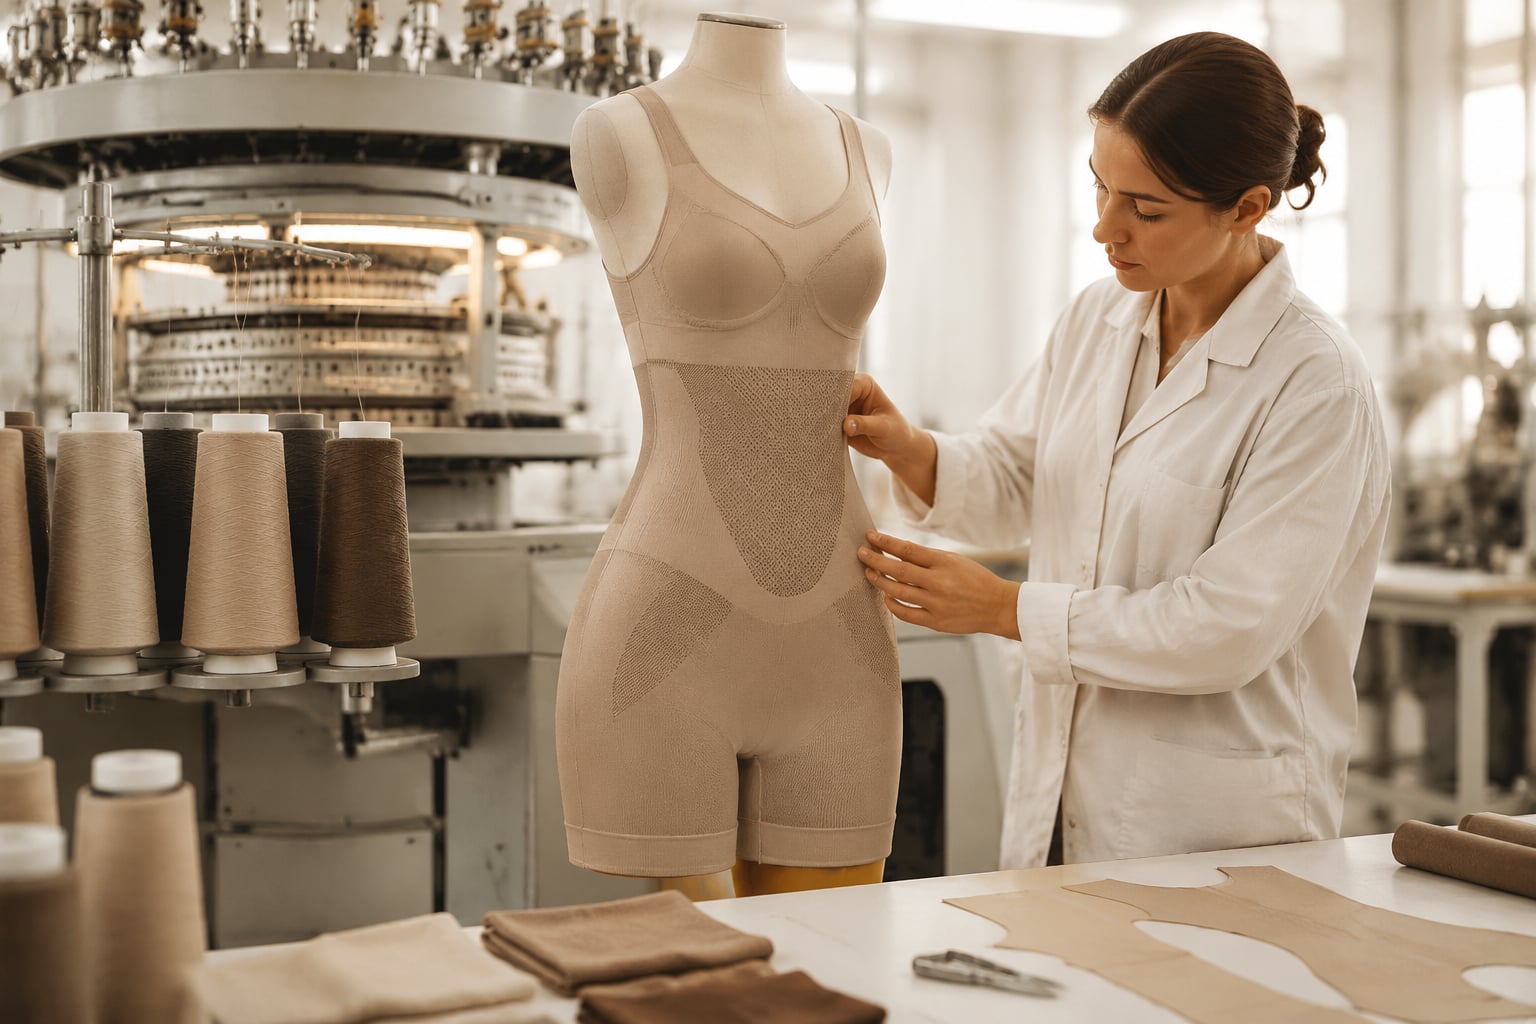
Seamless shapewear development is not simply a matter of choosing a compression level and adding a logo. A commercially workable product depends on how well the garment’s body zones, yarn selection, size grading, fit, finishing, labelling, and production controls work together.
For brands serving the German market, the most reliable approach is to turn the product concept into a controlled development sequence: define the wear need first, map it into knitting zones, validate fit across the intended size range, then freeze a detailed production reference only after testing. This reduces the risk of attractive samples that become inconsistent, uncomfortable, or difficult to reproduce at scale.
Decide Whether Seamless Construction Fits the Product
Seamless construction is most suitable when the product benefits from a close body fit, reduced side seams, integrated compression zones, and a smooth appearance beneath clothing. It is commonly considered for shaping briefs, shorts, bodysuits, leggings, camis, and selected bra-style support garments.
In this context, “seamless” usually means that the main body is knitted in a tubular or near-tubular construction. It does not necessarily mean that the entire garment has no joins at all. Gussets, straps, closures, silicone applications, hems, labels, and reinforcement elements may still require separate operations.
Before developing a style, identify the primary job of the garment:
- Light smoothing: Creates a more even visual silhouette with low restriction.
- Targeted shaping: Concentrates support around areas such as the abdomen, waist, hips, thighs, or lower back.
- High-support shaping: Requires stronger construction and more careful fit work to avoid rolling, pinching, or restricted movement.
- Posture or support-oriented apparel: May need engineered panel placement, but should not make unsupported medical or therapeutic claims.
- Layering or everyday comfortwear: Prioritises softness, breathability, and discreet edges over maximum compression.
A seamless approach may be less suitable when the brief requires highly structured cups, rigid boning, extensive hook-and-eye closures, sharply tailored shaping, or a wide range of fabric finishes that cannot be achieved through circular knitting and post-processing. In those cases, cut-and-sew construction, or a hybrid approach, may offer greater control.
Compare seamless and cut-and-sew requirements early
| Development factor | Seamless construction | Cut-and-sew construction |
|---|---|---|
| Body shaping | Built through knit density, stitch structure, and yarn tension | Built through panel shapes, seams, elastic placement, and fabric selection |
| Visible seams | Typically fewer seams on the main body | More seams, although seam placement can be engineered |
| Design changes | Changes may require knitting-programme revisions | Pattern adjustments may be more straightforward for some styles |
| Compression zoning | Can be integrated directly into the knitted structure | Can be created using different panels or laminated materials |
| Detailed cup structure | More limited for strongly engineered shapes | Greater flexibility for structured bras and complex contours |
| Production reference | Requires clear machine, yarn, programme, and finishing control | Requires clear patterns, cutting specifications, and sewing standards |
The right question is not whether seamless is inherently better. It is whether it supports the intended fit, aesthetic, support level, and commercial price position without creating unnecessary manufacturing risk.
For inspiration on silhouettes that may suit body-contouring briefs and shorts, review relevant C-shape shapewear product options as a product-category reference, then build a brief around your own target wearer and channel requirements.
Translate the Product Brief into Knitting Zones
A useful shapewear brief describes more than a garment type and a colour. It should specify where shaping is required, where mobility is essential, which edges must remain discreet, and what the wearer should feel when moving, sitting, and dressing.
The development team can then convert this brief into a zone map. Each zone should have a defined purpose rather than being added because it looks technical.
Typical seamless knitting zones include:
- Abdomen: Higher-density or more elastic knit for controlled smoothing or shaping.
- Waistband: A stabilising construction designed to stay in position without excessive digging or rolling.
- Lower back: Supportive zones that blend gradually into the main body to avoid a hard pressure line.
- Hip and seat: Contouring structures or less restrictive knit areas, depending on the intended silhouette.
- Thighs: Compression with sufficient flexibility for walking and sitting; leg edges need special attention.
- Bust and underbust: Variable support zones, rib structures, or underbust bands where applicable.
- Side body: Transitional zones that help distribute pressure between stronger and lighter areas.
- Gusset area: Breathability, hygiene, durability, and comfort must take priority over compression.
- Ventilation areas: More open stitches or mesh-like structures where heat and moisture management are important.
Define zone transitions, not just zones
The transition between two knit structures is often as important as the zones themselves. A sudden shift from high compression to a softer body knit can create a visible line, pressure point, or puckering effect under close-fitting clothing.
Ask the development team to review:
- Where a denser zone starts and ends on a real body, not only on a flat technical drawing.
- Whether the transition follows a natural contour or crosses a high-movement area.
- How the garment behaves when the wearer sits, bends, raises their arms, or walks.
- Whether the zone remains aligned after repeated wear and laundering.
- Whether the zoning appears symmetrical and consistent across sizes.
A technical pack should show front, back, and side views with zone boundaries clearly marked. Add notes for intended stretch direction, target visual effect, stitch texture, reinforcement needs, and any areas that must remain smooth under garments.
A vague instruction such as “strong tummy control” is not enough for seamless shapewear development. Define the coverage area, expected firmness, transition shape, and wearer profile.
Select Yarn and Material Properties
Yarn selection determines much of the garment’s hand feel, recovery, opacity, durability, and support. It should be decided alongside the knitting structure, not after the silhouette has been approved.
Seamless shapewear often combines a base yarn with an elastic component. The exact composition, yarn count, knitting construction, dyeing process, and finishing route can all influence final performance. Two garments with similar fibre percentages may feel and perform very differently.
Start by prioritising the product properties that matter most.
| Product priority | Material and construction considerations |
|---|---|
| Soft everyday shaping | Smooth hand feel, balanced stretch, moderate recovery, low-irritation finishing |
| Firm body control | Greater elastic support, stable knit structures, controlled stretch, careful edge engineering |
| Breathability | Open-knit ventilation zones, moisture-management considerations, lighter structures where support allows |
| High opacity | Appropriate yarn coverage, knit density, colour selection, and stretch testing |
| Long wear life | Resistance to abrasion, pilling, loss of recovery, and seam or edge failure |
| Sensitive-skin positioning | Review finishes, trims, dyes, labels, and any material claims with appropriate care |
Confirm stretch and recovery in the finished garment
Fabric swatches alone do not predict the behaviour of a finished seamless garment. Knitting tension, dyeing, heat-setting, finishing, and elastic integration may change stretch, recovery, and dimensions.
For each development stage, assess:
- Stretch across the width and length of key body areas.
- Recovery after repeated extension.
- Opacity when worn at expected stretch.
- Surface appearance after laundering.
- Whether elastic yarn becomes visible or causes uneven texture.
- Colour consistency between zones with different stitch densities.
- Hand feel at high-friction areas, especially inner thighs, waistband edges, and underbust zones.
Avoid choosing material solely by fibre composition or cost. A lower-cost yarn choice can lead to greater returns risk if it compromises recovery, comfort, or visual quality. Conversely, a more complex yarn blend is not automatically appropriate if it makes the garment difficult to care for or inconsistent between production lots.
Where environmental, recycled-content, antibacterial, or skin-related claims are planned, confirm what evidence, traceability, testing, and labelling support will be needed before incorporating the claim into packaging or marketing.
Develop Measurements and Size Logic
Fit is the central commercial risk in shapewear. A garment can meet flat measurement targets and still fail on the body through excessive pressure, rolling, poor bust placement, leg-edge digging, or inconsistent support between sizes.
Begin with a defined target customer and body measurement framework. Do not grade directly from a single sample without deciding which body dimensions drive the fit. Depending on the style, these may include waist, high hip, full hip, thigh, torso length, underbust, bust, and rise.
Build size logic around body dimensions
A practical size chart should show both:
- Body measurements: The wearer measurements for which each size is intended.
- Garment measurements: Controlled measurements of the finished product in a relaxed state and, where useful, at defined extension points.
Because shapewear is designed to stretch, flat garment dimensions can be misleading when used alone. The tech pack should therefore state how each measurement is taken, whether the garment is relaxed or extended, and which measurement tolerances are acceptable.
For the German market, make the size communication easy to understand across retail, online, and distributor channels. If the product uses letter sizes, ensure the corresponding body measurement ranges are clear. If numeric sizing is used, define the conversion logic consistently rather than assuming shoppers will interpret it the same way across categories.
Include torso length and vertical fit
Vertical fit is frequently underestimated in bodysuits, high-waist shorts, and underbust styles. A garment may fit around the hip circumference but still pull downward at the shoulders, roll at the waist, or create discomfort at the gusset.
Review:
- Front and back rise.
- Torso length from shoulder to gusset for bodysuits.
- Waistband placement on different body heights.
- Leg length and leg opening position.
- Underbust placement for bra-style or camisole designs.
- Whether the garment shifts during normal movement.
Do not solve a grading problem by simply increasing compression. If a larger size feels substantially tighter, shorter, or less stable than the sample size, the grading logic and zone placement need review.
Review the First Sample
The first sample is a learning tool, not a production-ready approval. Its purpose is to reveal whether the original concept can be knitted, worn, and finished as intended.
Assess the sample in a structured order. Start with broad construction issues before debating small visual details.
First-sample review checklist
Silhouette and coverage
- Does the garment reach the intended waist, thigh, bust, or back position?
- Are shaping zones located where the brief specifies?
- Does the style provide the expected visual smoothing without creating new bulges at the edges?
- Is the product sufficiently opaque at normal wearing stretch?
Comfort and movement
- Can the wearer sit, walk, bend, and dress without excessive effort?
- Does the waistband stay in place?
- Do leg openings roll, climb, or cut into the thigh?
- Are there rough, thick, or irritating areas?
- Does the garment remain comfortable after a realistic period of wear?
Construction and visual quality
- Are knit structures balanced and symmetrical?
- Do colour and texture vary unexpectedly between zones?
- Are there dropped stitches, holes, uneven tension, or visible elastane?
- Are joins, gussets, straps, or closures properly aligned?
- Does the garment retain its intended shape after washing?
Use more than one fit body where possible
A single fit model cannot validate an entire size range. At minimum, review the base size carefully and test representative adjacent sizes once grading is available. For a product aimed at a wide customer base, use wearers whose body proportions reflect the intended size chart, not merely their circumference.
Document each revision with photographs, measurements, sample comments, and specific actions. “Improve fit” is not actionable. “Raise front waistband by 1 cm, soften the lower abdomen transition, and increase leg opening extension” provides a clearer direction for the next round.
Plan Testing and Quality Checkpoints
Testing should be planned before production, because many failures are only visible after washing, wear, stretch, or repeated handling. The exact test plan depends on the product, sales channel, material choices, and applicable customer requirements.
At a practical level, quality checkpoints should cover materials, in-process control, finished-garment inspection, and packing verification.
Core checks to define
Material and colour checks
- Confirm approved yarns, colours, trims, and gusset materials against the development reference.
- Review colour consistency, including differences caused by varied knit densities.
- Establish how colour approval will be managed for future production lots.
Dimensional checks
- Measure key points against the approved specification.
- Define the measuring method and acceptable tolerances.
- Check dimensions before and after the agreed care process where relevant.
Performance checks
- Evaluate stretch and recovery.
- Assess pilling, abrasion, and appearance retention according to the relevant product requirements.
- Check colourfastness and dimensional stability as needed for the intended materials and care instructions.
- Test the security and durability of bonded, printed, sewn, or applied components where used.
Workmanship checks
- Inspect for knitting defects, holes, loose threads, uneven elastic, stains, oil marks, misaligned zones, and faulty attachments.
- Confirm that garment pairs and size assortments are packed correctly.
- Verify barcode, label, and packaging information against the approved artwork.
A factory’s quality process should be connected to your product specification, not treated as a generic final inspection. For a fuller view of what to align in an OEM or private-label project, consult quality assurance considerations for shapewear production.
Prepare Branding and Labelling
Branding must be considered during product development because labels, heat transfers, waistband logos, care markings, and packaging can affect comfort, appearance, and production workflow.
For seamless garments, bulky sewn-in neck labels or side labels can undermine the comfort benefit of the construction. Depending on the style, consider options such as printed internal markings, soft labels placed away from friction areas, removable hangtags, or branded waistband treatments. Each option needs durability and legibility review.
Build a labelling approval checklist
Before approving label artwork, confirm:
- Brand name and logo placement.
- Product name or style code.
- Size format and size-chart consistency.
- Fibre composition information.
- Care instructions and care symbols where used.
- Country-of-origin marking where required for the product and destination market.
- Traceability references, batch information, barcode, or retailer-specific data.
- Language requirements for the intended sales markets.
- Accuracy and substantiation of any material, performance, or sustainability claims.
Textile labelling and consumer-information obligations can vary by sales destination and claim type. German brands selling across Europe should verify their final legal and retail requirements with an appropriate compliance adviser, particularly when using claims related to recycled content, compression performance, skin comfort, or responsible sourcing.
Packaging should protect the garment without causing permanent creasing, colour transfer, or deformation at elastic edges. Confirm whether the product will be folded, hung, rolled, or packed with inserts, since this can affect both presentation and final inspection standards.
Freeze the Reference for Production
Production should start from a complete, mutually understood reference set. Approving a single sample without freezing the related technical details leaves too much room for variation in later orders.
Your production reference should normally include:
- Approved pre-production sample or sealed reference sample.
- Final tech pack with garment measurements and tolerances.
- Zone map and approved knitting programme details where applicable.
- Yarn, colour, trim, and gusset specifications.
- Size chart and grading rules.
- Approved label, print, packaging, and barcode artwork.
- Care and fibre-content information.
- Quality inspection requirements and defect standards.
- Packing method and carton requirements, if applicable.
- Revision history and approval dates.
Treat the pre-production sample as a control point
A pre-production sample should reflect the confirmed materials, colour, branding, measurements, finishing, and packaging approach as closely as possible. It is the final opportunity to identify differences between a development sample and the actual production setup.
Common mistakes at this stage include:
- Approving an appearance sample without confirming performance after washing.
- Changing yarns or colours after fit approval without reassessing stretch and recovery.
- Adding a logo application late in the process without testing comfort and durability.
- Using an unclear tolerance table for highly elastic measurements.
- Failing to define acceptable variation in knit texture, colour, or compression zones.
- Treating a supplier’s standard size chart as interchangeable with the brand’s customer fit expectations.
For teams that need development support as well as manufacturing coordination, S-SHAPER supports OEM, ODM, and private-label shapewear projects from product development through scalable series production. The useful starting point is still a clear brief and a documented approval process; see the OEM and ODM shapewear development approach for the relevant project pathway.
FAQ
How many sample rounds are usually needed for seamless shapewear?
The number varies with the complexity of the style, the novelty of the zone map, the size range, and the level of branding or finishing involved. Plan for enough rounds to resolve construction, fit, and performance separately rather than assuming one sample can validate every decision.
Can one seamless garment offer both strong shaping and all-day comfort?
It can balance these goals, but there is always a trade-off. More support generally requires greater elastic force or denser knitting, which can affect ease of dressing, breathability, and pressure at edges. The product brief should state which benefit takes priority.
What is the most important fit issue to test?
There is no single issue for every style, but waistband stability, leg-edge comfort, torso length, gusset placement, and zone alignment are recurring priorities. Test the garment in movement, not only while standing.
Should brands use a standard size chart?
A standard chart can be a starting point, but it should be adapted to the target customer, product type, compression level, and intended sales market. The final chart must match the tested garment rather than an assumed industry convention.
Next step
Start seamless shapewear development with a one-page product brief covering the target wearer, shaping objective, key body zones, size range, material priorities, branding method, and quality requirements. Use that brief to evaluate whether the proposed construction, sample plan, and production reference are specific enough to deliver a consistent product.