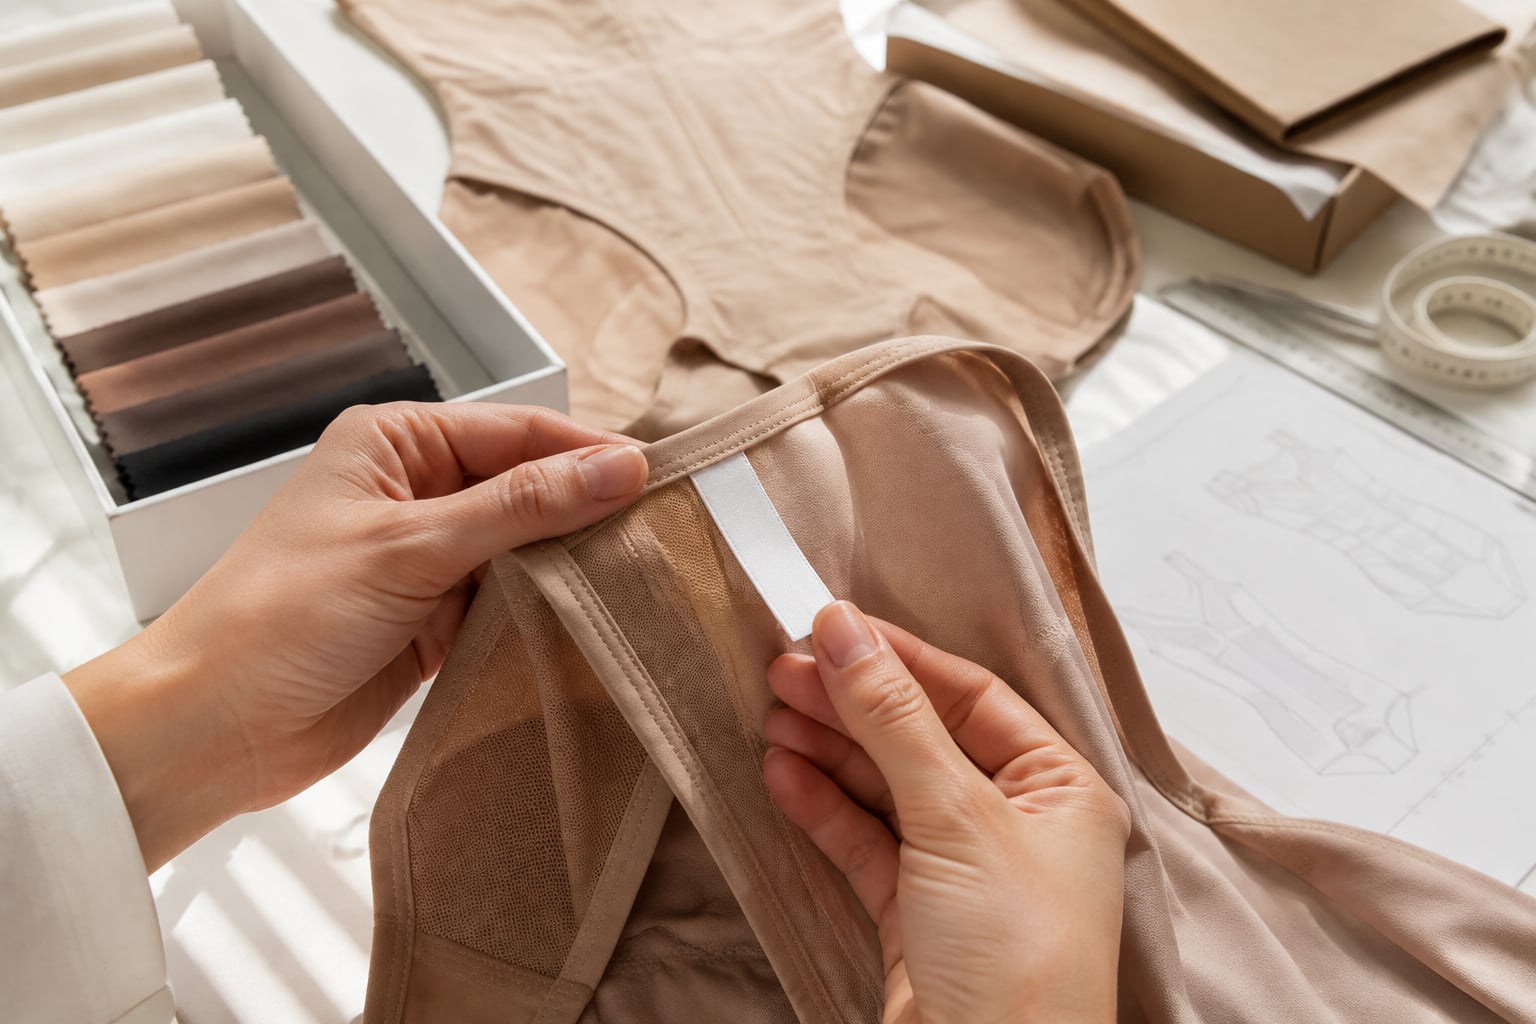
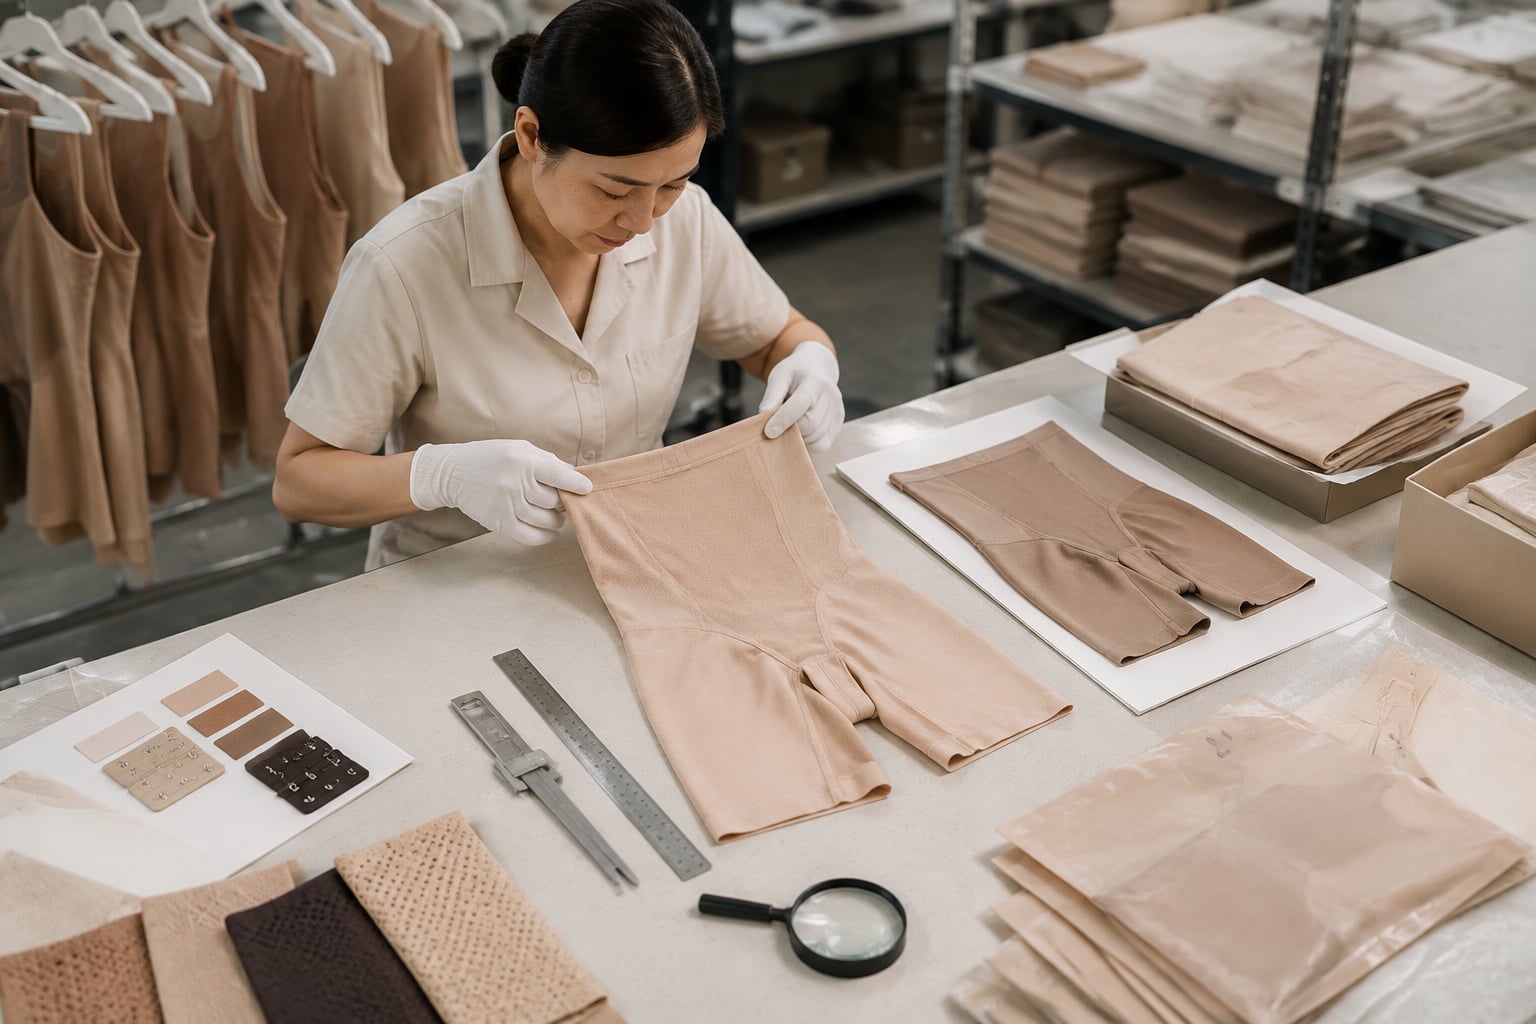
Shapewear quality control is the process of converting an approved design into repeatable production checks. The most reliable approach is to define the approved product standard first, identify measurements and defects that affect fit or performance, inspect at several stages of production, and record every finding for corrective action.
For German brands and sourcing teams, this matters because shapewear defects are rarely only cosmetic. A rolling waistband, inconsistent compression, visible seams, incorrect care information, or a size label that does not match the garment can lead to returns even when the garment initially looks acceptable. The following framework helps teams evaluate OEM, ODM, and private-label shapewear before shipment—and improve consistency on repeat orders.
Build the Approved Product Standard
The approved sample is the starting point for effective shapewear quality control, but it should not be the only reference. A physical sample alone leaves room for interpretation: production teams may not know which details are essential, which variations are acceptable, or how the garment should fit on the intended body type.
Create an approved product standard, sometimes called a “golden sample pack,” that combines the approved sample with a clear specification file. It should be signed off internally before bulk production begins.
Include the following:
- Product identity: style name, style code, colour, size range, revision date, and intended use.
- Technical sketch: front, back, and inside views with seam locations, panel boundaries, closures, boning, straps, gussets, silicone grips, or other functional components.
- Bill of materials: fabric composition, fabric weight where relevant, mesh type, elastic widths, thread, hooks, labels, hangtags, bags, and cartons.
- Compression and fit intent: state whether the item is light, medium, or firm compression and identify the body areas that should receive support.
- Construction requirements: stitch types, seam allowances, binding width, reinforcement points, stitch density where specified, and acceptable seam appearance.
- Measurement chart: finished-garment measurements, tolerances, and measurement method.
- Colour reference: approved swatch, lab-dip approval where used, and the reference light conditions for assessment.
- Defect criteria: examples of critical, major, and minor defects.
- Packaging standard: folding method, size sticker location, barcode or SKU placement, inserts, polybag requirements, carton marking, and quantity per carton.
Photographs are particularly useful. Take close-up images of the inside and outside of the approved sample, including seams, leg openings, waist finishes, gussets, hook-and-eye closures, and branding details. Annotated photos reduce misunderstanding more effectively than broad statements such as “premium finish” or “smooth stitching.”
A common mistake is approving a development sample before the final fabric, trims, labels, or graded size set are available. A development sample may validate the silhouette, but it cannot fully approve bulk quality. Before production, confirm that the approved standard reflects the actual production materials and the final size specification.
For more detail on how a supplier may structure product checks, review the relevant quality assurance approach alongside your own inspection plan.
Define Critical Measurements
Shapewear is highly sensitive to measurement variation. Small deviations can change compression, create rolling edges, restrict movement, or make a garment feel too loose after limited wear. Therefore, not every point of measure should receive the same attention.
Classify measurements by their effect on fit, function, and customer perception.
| Measurement area | Why it is critical | What to define |
|---|---|---|
| Waist opening and waistband | Affects comfort, hold, and risk of rolling | Relaxed and stretched measurements, finish type, tolerance |
| Hip and body circumference | Determines size accuracy and compression level | Flat measurements, stretch condition, tolerance |
| Rise and torso length | Influences coverage, support placement, and fit across different heights | Front rise, back rise, total body length, measuring method |
| Leg opening | Affects digging, rolling, and visibility under clothing | Opening circumference, elastic tension, seam finish |
| Bust, underbust, or strap length | Essential for bodysuits and shaping tops | Strap adjustability, cup dimensions, closure positions |
| Gusset dimensions and placement | Affects wearability and hygiene | Length, width, lining construction, opening functionality |
| Closure placement | Determines usability and symmetry | Hook spacing, zipper length, snap alignment, reinforcement |
For each point of measure, state:
- Where the measurement begins and ends.
- Whether the garment is relaxed, laid flat, stretched, or placed on a form.
- The approved value for every size.
- The allowable tolerance.
- The equipment or method used if this influences the result.
Do not apply a universal tolerance to every point. A wider tolerance may be manageable for an outer panel, while a narrow tolerance may be necessary for waistband circumference or gusset placement. The appropriate tolerance depends on fabric stretch, construction, garment size, and compression target. Agree it with the production partner before cutting begins.
Measure across the size range, not only in one sample size
A fit sample in one size does not prove that the grading works. Review at least representative sizes from the range, especially where the design has high-stretch panels, engineered compression zones, or closures. Larger sizes can reveal excessive strain at seams, while smaller sizes may expose overly tight elastic or distorted panel shapes.
Where the product is sold with a size guide, compare the finished measurements and intended body measurements carefully. The garment’s flat dimensions are not a customer-facing size guide; they must be interpreted in relation to stretch, compression, and intended fit.
Check Material and Colour
Fabric is the performance foundation of shapewear. Even a well-made garment can disappoint if the material is too weak, too rigid, inconsistent in stretch, or different in colour between production lots.
Start with material confirmation before bulk cutting:
- Verify fibre composition against the approved material specification.
- Confirm the fabric construction and finish match the approved sample.
- Compare stretch and recovery in both directions where the fabric is intended to stretch.
- Check fabric weight or thickness where this influences opacity, support, or garment feel.
- Inspect for holes, runs, snags, oil marks, streaks, contamination, and uneven surface appearance.
- Confirm that mesh, powernet, lining, elastic, and binding materials are compatible in stretch and colour.
Assess stretch and recovery as a system
Shapewear fabrics should not be judged only by how far they stretch. Recovery is equally important: after extension, the fabric and elastic should return close to their intended shape. Poor recovery can cause a garment to loosen during wear, while an overly rigid material can make the item difficult to put on or uncomfortable at the edges.
Where possible, compare production material directly with the approved swatch or approved sample. Conducting the same simple handling check across batches—stretching, releasing, and observing recovery—can help identify obvious differences. Formal laboratory testing may be appropriate for a new material, high-volume programme, or product with a defined performance claim, but the test method and acceptance criteria should be agreed in advance.
Control colour by lot and component
Colour inconsistency is especially noticeable in black, nude tones, seasonal colours, and garments built from several materials. Compare the main fabric, mesh, elastic, thread, labels, and trims together. A close match under one light source may look different under another.
Use an approved colour reference and inspect components under consistent lighting. If production uses multiple fabric rolls or dye lots, keep lot identification traceable. Do not assume that “black” from two suppliers or two deliveries will match sufficiently for a single garment.
Also consider colour transfer risk where a dark fabric, contrast trim, or printed component touches lighter material in the finished pack. The exact evaluation method depends on the materials and market requirements, so confirm the relevant testing expectations with your supplier or independent test partner.
Inspect Construction During Production
Waiting until finished-garment inspection creates unnecessary risk. Once a bulk issue is discovered at the end of production, rework can be slow, expensive, or impossible without affecting the delivery plan.
In-process inspections focus on preventing faults while they can still be corrected. They are particularly valuable after cutting, at the first sewn output, and when production reaches a stable rhythm.
Key construction checks include:
- Panel symmetry: left and right sides should align, especially at legs, waist shaping zones, bust areas, and closures.
- Seam quality: no skipped stitches, broken threads, open seams, excessive puckering, loose loops, or visibly uneven seam lines.
- Elastic application: waistbands and leg elastics should be evenly applied without twisting, uneven tension, or excessive stretching during sewing.
- Seam comfort: seams intended to sit against skin should be smooth and consistent, without hard edges or bulky overlaps.
- Reinforcement: high-stress locations—such as gussets, closures, strap joins, crotch seams, and opening edges—should receive the specified reinforcement.
- Functional components: hooks, zips, snaps, adjustable straps, silicone elements, and detachable parts should be securely attached and work as intended.
- Cleanliness: garments should remain free from oil, needle damage, stains, pen marks, and loose thread accumulation.
Use a first-piece approval at the sewing line
A first-piece or “top-of-line” check compares the first complete production garment with the approved standard before the line continues at scale. This is one of the strongest practical controls for a new style, revised construction, or new factory line.
If the first piece differs from the approved sample, document the issue, correct it, and approve a new first piece. Do not rely on verbal agreement. Record the adjustment to prevent the same misunderstanding on the next production day or reorder.
A second common mistake is focusing only on external appearance. Shapewear construction must be inspected inside and out. The inside reveals seam overlap, thread trimming, label placement, lining quality, and construction details that affect comfort and durability.
To understand the production context behind these checks, it can be useful to review a supplier’s factory and production capabilities, including how development and series production are organised.
Review Finished Garments
Finished-garment inspection verifies that the completed order meets the approved product standard before goods are packed or released. It should combine visual inspection, measurement checks, functional checks, and packaging verification.
An inspection plan should define both the sample size and the acceptance rules before the order is produced. The right approach depends on order volume, product complexity, quality history, and commercial risk. Do not choose a sampling level after defects are found simply to make the result easier to accept.
Separate defects by severity
A practical defect classification helps teams make consistent release decisions.
| Defect category | Typical impact | Shapewear examples |
|---|---|---|
| Critical | Safety, legal, or serious usability issue; usually unacceptable | Sharp component, incorrect product identity where it creates a serious compliance issue, missing essential warning where required |
| Major | Product is not saleable as intended or likely to cause returns | Open seam, wrong size label, severe colour mismatch, faulty closure, incorrect waistband measurement |
| Minor | Limited impact on use or saleability, depending on brand standard | Small removable thread, slight non-visible stitch variation, minor packaging crease |
The exact classification must reflect your own product standard and sales channel. A flaw that is minor for a discounted outlet may be major for a premium retail launch. Be precise about what is allowed, what requires rework, and what requires rejection.
Perform practical functional checks
Visual checks alone are insufficient. At finished-garment stage, inspect representative pieces for:
- Correct size and measurement within agreed tolerances.
- Consistent stretch and recovery compared with the approved standard.
- Secure operation of closures and adjusters.
- Symmetry when the garment is laid flat.
- Leg, waist, and neckline finishes that are not twisted or uneven.
- Clean, securely attached labels with no irritation-prone exposed edges where avoidable.
- Absence of damage caused by needles, handling, pressing, or packing.
- Correct folding and presentation after the garment has been handled.
For bodysuits and similar styles, check the closure area particularly carefully. Misaligned snaps, sharp edges, weak reinforcement, and poorly placed gussets are among the issues that may not be obvious in a flat product photograph but strongly affect wearer experience.
A limitation to keep in mind: factory inspection cannot replace fit validation on an appropriate range of bodies. Fit sessions, wash-and-wear trials, and laboratory testing each answer different questions. Use finished-garment inspection to confirm production consistency, not as a substitute for product development.
Verify Labels and Packaging
Labels and packaging are part of the product, not a final administrative detail. Incorrect size labels, fibre information, care symbols, language content, barcodes, or carton markings can block delivery, complicate retail operations, and generate avoidable customer complaints.
For products intended for Germany, confirm the information required for your intended sales channels and the countries where the goods will be marketed. Requirements can vary by product type, distribution model, and destination. Where needed, obtain professional compliance advice rather than assuming that a previous label format is suitable for every programme.
Your label and packaging check should cover:
- Brand name and style code, where applicable.
- Correct size label and consistent size identification across garment, hangtag, bag, and barcode sticker.
- Fibre composition and care information as specified for the product.
- Country-of-origin marking where required for the commercial arrangement or market.
- Placement, legibility, attachment quality, and durability of labels.
- Correct barcode, SKU, colour, and size data.
- Packaging material, bag dimensions, warnings where relevant, and presentation standard.
- Carton assortment, carton quantity, carton marks, and shipping information.
Check the complete pack as a customer or warehouse team would receive it. A perfectly made garment packed with the wrong size sticker is still an inventory and returns problem.
Document Findings and Corrections
Quality control becomes useful when findings are traceable and lead to action. A verbal “please improve stitching” instruction is difficult to verify. A concise report with evidence, ownership, and deadlines makes improvement measurable.
A useful inspection report includes:
- Purchase order, style code, colour, sizes, and inspected quantity.
- Production stage and inspection date.
- Approved reference used for comparison.
- Measurement results, including actual values and tolerances.
- Defect count by type and severity.
- Clear photographs of defects, measurements, labels, and packaging.
- Root cause where known or under investigation.
- Required corrective action, responsible party, and completion date.
- Reinspection result and release decision.
Ask for corrective action, not only sorting
Sorting defective goods may protect the current shipment, but it does not necessarily prevent recurrence. For repeated or major issues, request a corrective-action process that identifies:
- What caused the defect.
- Which process step will change.
- Who will verify the change.
- How future production will be checked.
- Whether existing finished goods require rework or further inspection.
For example, recurring skipped stitches may require machine adjustment, needle selection review, operator training, or a revised in-line check. A simple instruction to “be more careful” does not address the cause.
Keep reports by style and production lot. Over time, this record shows whether a defect is isolated, material-related, size-specific, or linked to a recurring construction detail.
Prepare Reorder Controls
A successful first production does not guarantee a consistent reorder. Fabric suppliers, dye lots, operators, machines, trims, and production schedules may change. Reorder quality control should protect the approved product while allowing only documented changes.
Before confirming a reorder, review:
- Whether the approved sample and specification remain current.
- Any customer feedback, return reasons, or fit concerns from the previous run.
- Previous inspection reports and unresolved corrective actions.
- Material or trim substitutions proposed by the supplier.
- Changes to colour, grading, labelling, packaging, or carton assortment.
- Whether new production facilities, lines, or subcontractors will be involved.
- The need for a new pre-production sample or colour approval.
Treat any change in fabric, elastic, construction, component supplier, colour, or factory process as a potential quality change. It may be commercially acceptable, but it should be reviewed and approved before bulk use.
A strong reorder control is a short “carry-forward” document. It lists the non-negotiable features of the previous approved production, the known risks, the measurements that need heightened attention, and any improvements that must be verified. This is more efficient than rebuilding the full quality plan while preventing teams from repeating old mistakes.
FAQ
What is the most important quality check for shapewear?
There is no single universal check, but fit-related measurements, fabric recovery, seam quality, and waistband or leg-opening construction usually have the greatest effect on customer experience. The priority should match the garment’s design and compression purpose.
Should shapewear be inspected before or after packaging?
Both. Inspect garments before packing to identify construction, measurement, and cleanliness issues. Then inspect packed units to verify labels, barcode data, folding, bagging, and carton assortment. Packing can introduce errors even when garments were correct beforehand.
How can a buyer compare two shapewear suppliers on quality control?
Ask each supplier how they manage approved samples, first-piece approval, in-process checks, final inspection, measurement records, defect reporting, and corrective actions. Compare the clarity of the process, not only the supplier’s assurance that quality is checked.
When is third-party inspection useful?
Independent inspection can be useful when the order value is high, the supplier relationship is new, the product is technically complex, or internal teams cannot attend production. It works best when the inspector receives a complete approved product standard and defined acceptance criteria.
A disciplined quality-control plan protects the wearer experience, retail presentation, and repeatability of your shapewear range. For teams developing an OEM, ODM, or private-label programme, S-SHAPER can support the path from product development through scalable series production. To discuss specifications, inspection priorities, or an upcoming project, use the project contact form.