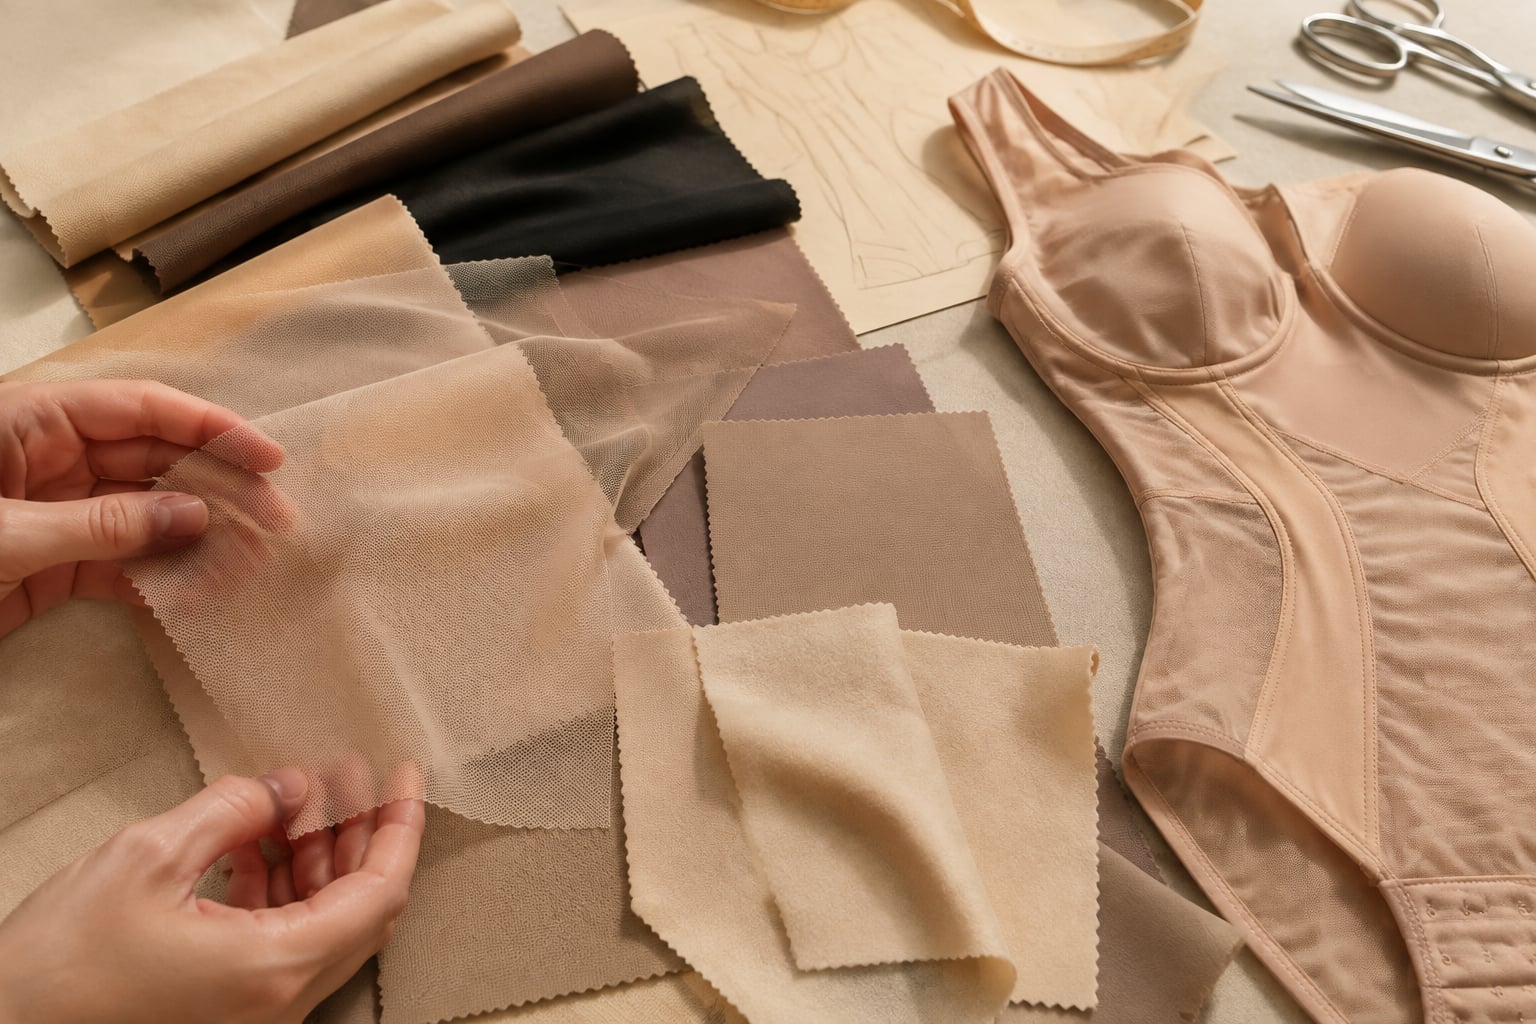

Compression shapewear pattern grading is not simply the process of adding or removing centimetres from a base pattern. Because the garment is designed with negative ease, each size must maintain a deliberate relationship between the wearer’s body, fabric recovery, construction and intended level of support.
A reliable grading system starts with a clearly fitted base size, then applies area-specific grade rules that protect compression and movement. The objective is not identical garment dimensions between styles or size ranges; it is a consistent wear experience: controlled where support is required, flexible where the body bends, and stable at openings, straps and seams.
Establish the base size and fit intent
The base size is the approved pattern from which the rest of the range is graded. It should be selected because it represents the intended customer and can be fitted confidently—not merely because it sits in the numerical middle of the proposed size chart.
For a UK-focused range, first decide which sizing convention the label will use, such as dress sizes, alpha sizes, waist/hip measurements, or a combination. The size chart, fit model brief and sales description must use the same logic. A bodyshaper labelled by dress size but developed against an unrelated hip range is likely to create preventable returns.
Before grading begins, define the fit intent in practical terms:
- Support level: light smoothing, firm shaping or high compression.
- Primary shaping area: abdomen, waist, lower back, thigh, hips, bust or all-over torso.
- Use case: daily wear, occasionwear, post-partum use where appropriate, or activity-led wear.
- Coverage: brief, short, thigh-length short, bodysuit, waist cincher, camisole or legging.
- Movement requirement: seated comfort, walking, bending, arm reach, toilet access and, where relevant, bra compatibility.
- Target wearer profile: the body proportions, height range and size range the product is intended to accommodate.
“Firm” compression should not mean the same physical restriction in every panel. A high-control front abdomen panel may be appropriate for the design intent, while the gusset, inner thigh and upper back need enough give for ordinary movement. Recording this intent in the development brief gives pattern cutters and suppliers a measurable direction when fit decisions become difficult.
A base fit sample should be made in production-representative materials where possible. Fabric weight alone is not enough: two power meshes with similar weight can have very different stretch, recovery and force. Elastics, bonding films, linings and seam construction can also alter the final hold substantially.
Separate body measurements from garment measurements
Body measurements determine who the garment is designed to fit. Garment measurements determine the cut piece dimensions before stretch and on-body extension. Confusing the two is one of the most common causes of inconsistent compression across a size range.
Create separate, controlled documents for:
- The body measurement chart – bust, underbust where relevant, waist, high hip, full hip, thigh, torso length and other measurements required by the product.
- The finished garment specification – critical measurements taken from the relaxed garment, with a defined measurement method.
- The pattern measurement chart – dimensions of key pattern locations before seam allowance or as otherwise agreed with the development team.
- The stretch and recovery record – material behaviour in each direction, after repeated extension where relevant.
For example, a finished waistband circumference is not a substitute for a target waist measurement. The waistband is deliberately smaller than the body because it stretches around it. Its appropriate difference depends on the elastic construction, its width, the adjacent fabric and the risk of rolling or pressure concentration.
Measure garment points consistently. A hip measurement taken 20 cm below the waist in one sample and 23 cm below in another is not comparable. For bodysuits and all-in-ones, define whether torso length is measured along the body, through the centre front, through the crotch or as a stretched measurement. Without that definition, a technically correct factory measurement can still yield an unsuitable garment.
Use negative ease as a controlled design value
Negative ease is the difference between the body circumference and the garment circumference before the garment stretches. It is generally expressed as either a measurement difference or a percentage of the body measurement:
Negative ease (%) = (body measurement − garment measurement) ÷ body measurement × 100
This calculation is useful for analysis, but it is not a universal prescription. A 10% reduction in a soft, highly extensible knit does not create the same compression as a 10% reduction in a dense power fabric. Panel direction, seams and elastic components also change the result.
Treat negative ease as one input within a fit system, not as a single formula for every garment.
Map negative ease and compression zones
Compression needs to be mapped by body zone rather than distributed evenly around the garment. A pattern can have the correct overall circumference and still feel unbalanced if the front panel is too restrictive, the back has too little recovery or the leg opening carries too much tension.
A zone map should identify:
- areas needing greater shaping or stability;
- areas requiring mobility or expansion;
- stretch direction for each fabric panel;
- lining, mesh or reinforcement locations;
- elastic paths and their tension;
- seam locations that may resist stretch;
- transitions between compression levels.
For a shaping short, the front abdominal panel may have a more controlled cut or a reinforced inner layer. The side and back panels may provide smoother distributed hold, while the crotch and inner thigh need more consideration for stride and sitting. A bodysuit also requires control through the torso length; otherwise, a garment that feels acceptable standing can pull at the shoulders or ride up while sitting.
Compression should remain proportionate as sizes increase
One grading mistake is to preserve the same absolute garment reduction in every size. Another is to preserve the exact same percentage reduction everywhere. Neither is automatically correct.
As body shape and circumference increase, fabric extension, panel geometry and pressure distribution change. Larger sizes often need adjusted rules for particular regions—not less attention to support. The aim is equivalent product intent, not a mathematically uniform pattern.
| Product area | Primary grading concern | Risk if graded mechanically | Useful control point |
|---|---|---|---|
| Waist and abdomen | Shaping level without edge roll | Waistband digs in or support becomes too weak | Panel width, waist elastic length and front reinforcement |
| Full hip and seat | Circumference and seat volume | Back seam pulls; garment flattens or rides down | Back panel width, crotch extension and hip shaping |
| Thigh | Comfortable hold and leg stability | Pinching, rolling or restricted stride | Leg opening, inseam shape and hem elastic |
| Bust and underbust | Containment and vertical position | Overflow, gaping or excessive shoulder pull | Cup/panel volume, underbust band and strap position |
| Torso | Length and body-contour balance | Shoulder strain, crotch pull or back rolling | Front/back length, rise and cross-body shaping |
| Gusset | Reach, hygiene and movement | Chafing, poor access or seam stress | Gusset length, width, stretch direction and attachment points |
Choose grade rules by product area
A single all-over grade increment is rarely sufficient for compression garments. Grade rules should respond to the function of each piece and be reviewed at the key balance points: centre front, centre back, side seam, waist, hip, rise, leg opening, armhole, neckline and gusset.
Use a grading plan that identifies both horizontal and vertical changes. Horizontal growth covers widths and circumferences; vertical growth covers body length, rise, bust position, hip depth and strap placement. Neglecting vertical changes is particularly damaging in bodysuits, longline pieces and high-waisted shorts.
Grade panels, not only perimeter measurements
A multi-panel shaper should be graded by panel function. If all added width is placed at the side seam, the garment can lose its intended body-contouring shape. In contrast, distributing grade between front, side and back panels can preserve the relationship between the compression zones.
Consider the following when setting grade rules:
- Direction of greatest stretch: A panel cut differently on the fabric may need different treatment from an adjacent panel.
- Seam type: A bonded seam, overlock seam and coverstitch seam do not contribute the same stretch or bulk.
- Reinforced layers: A double-layer front cannot necessarily use the same grade rule as a single-layer back.
- Curved seam shaping: The amount and position of curvature affect how a garment cups the body.
- Size range span: A wide range may require more than one grade block or a separate base development approach rather than endlessly extending one set of rules.
For instance, a waist-to-thigh shaper with a bonded front panel may need carefully adjusted front width growth, but a more generous increase in crotch extension and hip/seat shaping. Simply widening the front panel may lower support; merely increasing leg circumference may cause the hems to move or roll.
Know when a second block is needed
There is a practical limit to how far a base pattern can be graded before proportions and compression distribution become unreliable. A broad size range may need a second fit block, revised panel proportions or a related but separately engineered pattern.
Signs that one grade block is no longer working include:
- repeated issues at the upper or lower end of the size range;
- waist compression becoming disproportionately strong or weak;
- a gusset that is correct in central sizes but too short or too long at the extremes;
- shoulder straps falling in one group and pulling in another;
- seams rotating around the body;
- a support panel sitting in the wrong anatomical position.
This is not a failure of the original base size. It is recognition that bodies do not scale uniformly.
Control openings, straps and gussets
Openings and narrow components deserve separate grading rules because they are frequent sources of discomfort and fit complaints. Their stretch, return and placement must work together with the main body pattern.
Waistbands and leg openings
An elastic opening should hold its position without creating a sharp pressure line. Grade its length independently from the surrounding garment circumference, taking account of elastic type, width, recovery and application method.
Check leg openings during walking, sitting and bending. If a leg hem rolls, the issue may not be solved by loosening the elastic alone. The likely cause could be an imbalance between fabric tension, panel shape, hem position and the wearer’s thigh contour.
Straps and shoulder areas
Strap length must accommodate changing torso dimensions and bust position across the range. Fixed straps need careful vertical grading; adjustable straps add flexibility but still require correct attachment placement and back height.
On a bodysuit, too-short straps can be a symptom of insufficient torso length rather than an isolated strap problem. Extending only the straps may change bust position without resolving the pull through the gusset.
Gussets, rises and access features
The gusset is a functional fit zone, not a small finishing detail. Its length, width, fabric choice and seam placement affect stride, comfort and durability. For open-gusset designs, check that the opening remains accessible and positioned appropriately across the full graded range.
Avoid grading the rise only from the waist. A larger size may need changes to the front and back rise, crotch extension and gusset geometry in different proportions. Fit reviews should include sitting and walking, not just a standing visual assessment.
Validate more than one size
Approving only the base size does not validate a size range. At minimum, review the base size plus representative sizes towards both ends of the commercial range. Where the range is wide, intermediate sizes may also be needed to identify non-linear behaviour.
Fit validation should assess more than whether the garment can be put on. Use a structured wear review covering:
- ease of entry and removal;
- compression balance in each intended zone;
- breathing and seated comfort;
- walking, bending, squatting and arm movement as relevant;
- rolling at waist, back, leg and arm openings;
- seam placement and seam pressure;
- garment migration, including riding up or sliding down;
- opacity and panel distortion when stretched;
- recovery after normal wear movement;
- bust containment and strap stability where applicable.
A sample can look smooth on a static mannequin yet perform poorly on a moving body. Wear trials on suitable participants, with consistent observation criteria, expose problems that flat measurement checks cannot.
For production programmes, align fit reviews with a clear shapewear quality assurance process. Measurement inspection, stretch checks and workmanship review support consistency, but they do not replace on-body fit approval.
Document fit corrections and tolerances
Every approved correction should be traceable. If the fit team shortens a waistband, reshapes the front rise or moves a side seam, record the reason, the affected sizes and the updated pattern rule. Otherwise, the next sample round or production order can revert to an earlier version.
A fit pack should normally include:
- approved pattern version and revision date;
- size chart and target body measurements;
- point-of-measure diagrams;
- finished garment measurement specification;
- grading rules by pattern piece or critical point;
- fabric, lining and elastic specifications;
- stretch direction and recovery expectations;
- construction and seam instructions;
- approved sample comments, including photographs where useful;
- tolerances for critical measurements;
- wash, wear and appearance checks appropriate to the product.
Set tolerances according to risk
Tolerances are permitted manufacturing variation, not a way to excuse an unclear specification. They should be tight enough to protect fit, especially at compression-critical points, while remaining realistic for the material and construction.
Do not apply one blanket tolerance to every dimension. A minor variation at a loose neckline may be less consequential than the same variation at a waist elastic, leg opening, gusset or bonded support panel. Confirm how a supplier measures stretched and relaxed components, because that method can materially affect pass/fail decisions.
If fabric or trim changes, reassess the specification. Even a visually similar substitute can alter recovery, grip, seam stretch and compression feel.
Freeze the approved size set
Freeze the size set only after the agreed representative sizes meet the fit brief and all corrections have been incorporated into the final graded pattern. The approved set should reflect production-intent fabric, elastics, construction and labels—not an early development combination that will not be repeated in bulk manufacture.
Before sign-off, check that:
- each graded pattern has been generated from the current approved base;
- all notches, seam allowances, grain lines and panel labels are aligned;
- the grading nest does not introduce unexpected shape changes;
- finished garment specifications match the final patterns;
- opening lengths and trim quantities have been recalculated by size;
- the factory has the current technical pack and sample approval record;
- quality teams understand critical measurements and inspection methods.
Freezing does not mean ignoring future learning. Customer feedback and returns information may identify a legitimate need to revise the next production run. However, changes should be treated as controlled redevelopment, with new samples and documented approval—not informal adjustments on the factory floor.
For brands comparing manufacturing partners, ask how pattern, fit and bulk production teams manage revision control, fit samples and graded size approvals. Technical development capability matters as much as sewing capability in compression products. If S-SHAPER UK is shortlisted, use its OEM and ODM shapewear development options to frame a discussion about connecting fit intent to controlled production documentation.
Frequently asked questions
How many sizes should be fitted before shapewear production?
Fit the base size and at least one size towards each end of the planned range. The broader the range, the more representative sizes should be checked. A single approved base sample is insufficient evidence that compression and movement are consistent throughout.
Should negative ease be the same in every size?
Not necessarily. The correct approach depends on fabric force, panel construction, body proportions and the support objective. The goal is consistent functional compression, which may require adjusted grade rules by size and body zone.
Can standard knitwear grade rules be used for shapewear?
They can provide a starting framework, but should not be adopted without validation. Shapewear has more demanding requirements for recovery, compression distribution, openings, gusset fit and seam placement. Product-specific fit trials are essential.
What is the biggest risk in grading a bodysuit?
Torso length is often the critical issue. If front length, back length, rise, strap position and gusset dimensions do not work together, the garment can pull at the shoulders, ride up or become uncomfortable while seated.
A well-graded compression range is built through deliberate testing rather than proportional scaling alone. Start with a defined fit intent, validate multiple sizes in production-representative materials, and freeze a fully documented size set only when compression, movement and placement remain balanced. For further technical context, review shapewear material and construction innovation alongside your pattern and fit plan.