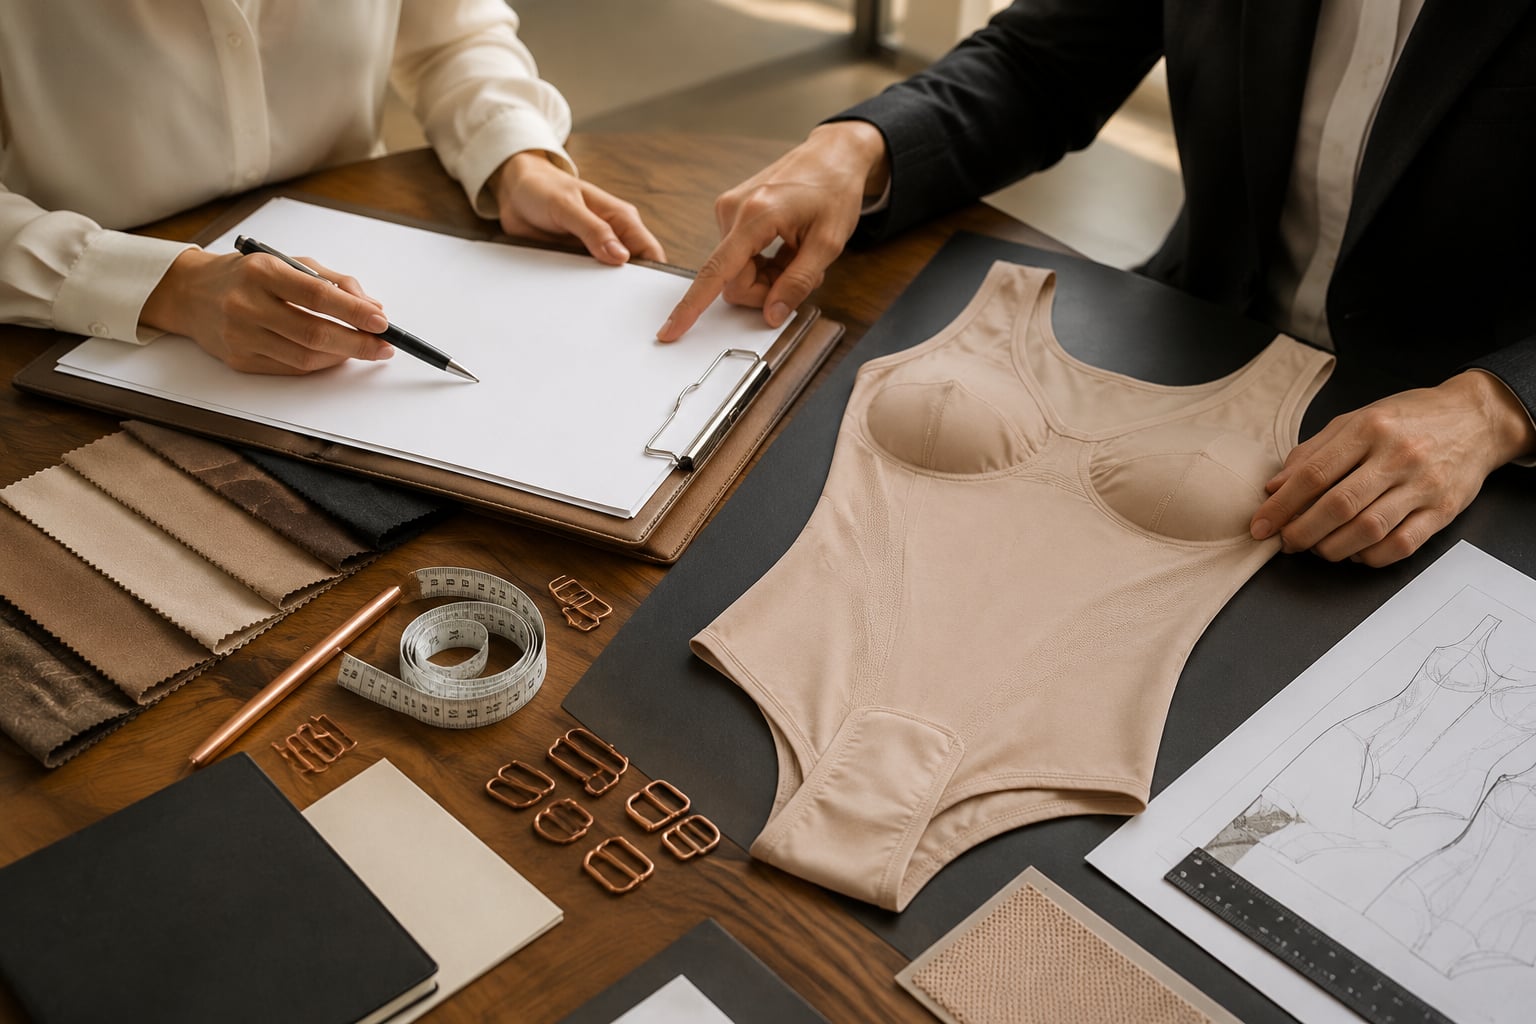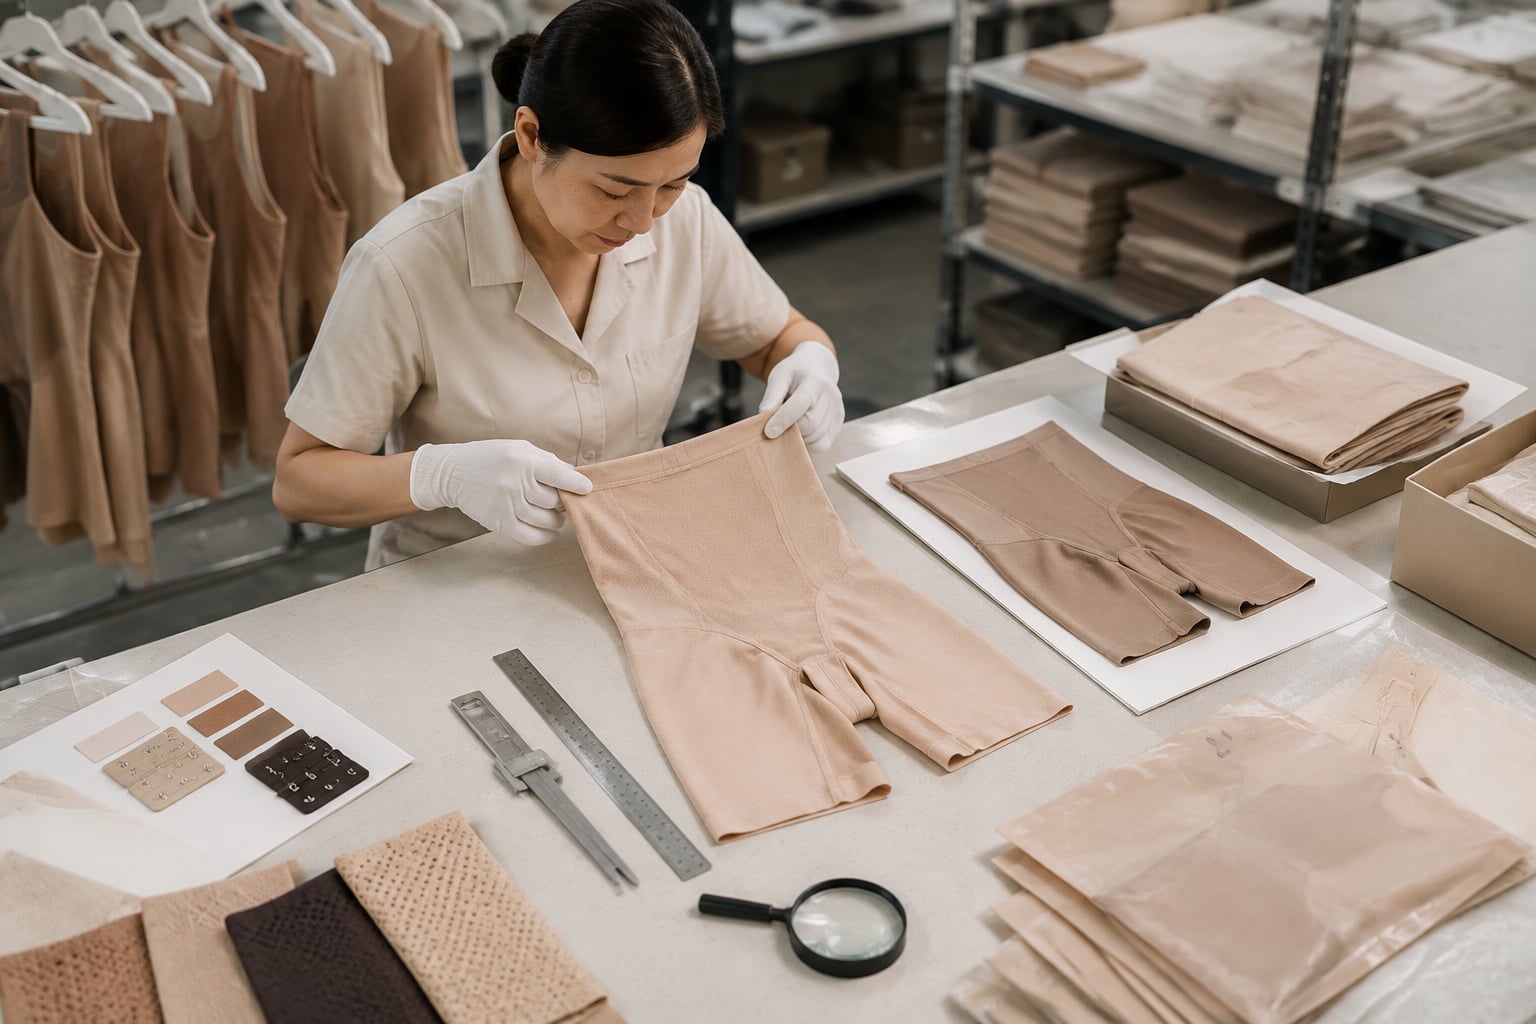
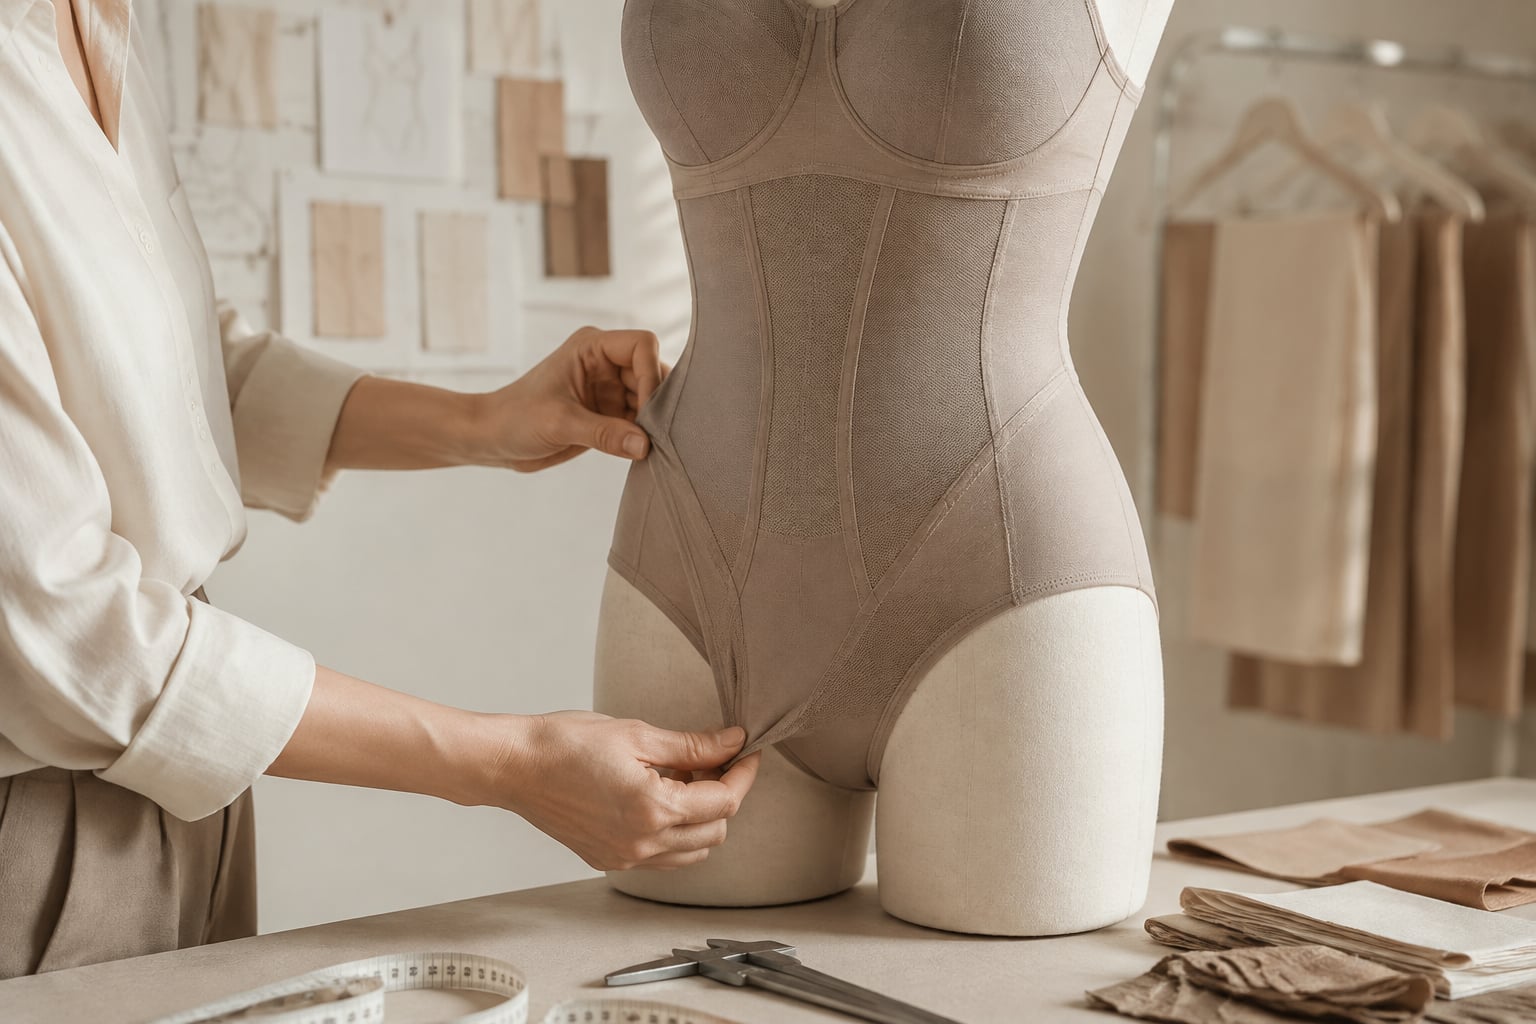
A shapewear sample should not be approved because it looks right on a mannequin or because the fabric feels premium in the hand. It should be approved only when the agreed specification, fit, support level, construction, branding and production records have all been checked against a controlled reference.
This shapewear sample approval checklist gives product and sourcing teams a repeatable method for moving from development sample to bulk production. Use it for OEM, ODM and private-label programmes, adapting the measurement tolerances, test methods and wearer profiles to the product category and target customer.
Prepare the Specification and Review Conditions
Start with a complete, version-controlled review pack. A sample review is unreliable when the factory, buyer and fit team are working from different measurements, colour references or comments.
Before inspecting the sample, confirm that you have the following:
- Current tech pack with a revision date and style code
- Bill of materials, including fibre composition and component specifications
- Graded measurement chart and agreed tolerances
- Construction diagrams or annotated reference images
- Approved artwork for labels, care marks, packaging and branding
- Colour standard, such as a physical swatch or approved lab dip
- Sample purpose: prototype, fit sample, pre-production sample or sealed production sample
- A record of all previous comments and whether they were actioned
- The intended size, body shape and fit model profile
- The intended garment care method and any agreed performance requirements
Clearly state the sample stage on every review document. A first fit sample is for resolving silhouette, construction and basic sizing. It should not automatically be treated as a production-ready garment. A pre-production sample, by contrast, should reflect the approved materials, colour, trims, branding and workmanship that bulk production will follow.
Set consistent inspection conditions
Review samples under consistent lighting and allow garments to rest flat before taking critical measurements. Shapewear fabrics can recover after stretching, folding and shipping, so measurements taken immediately after aggressive handling may be misleading.
For fit assessment, use the same size and, where possible, the same fit model profile across review rounds. Record relevant wearer variables such as height, key body measurements and usual ready-to-wear size. This avoids vague feedback such as “too tight” when the real issue may be torso length, leg opening position or the compression expectation.
A useful review team usually includes product development, technical or quality staff, and someone able to represent the target wearer’s needs. Commercial, merchandising and brand teams should also review the aspects they own, including packaging, price-sensitive construction choices and visual identity.
Check Measurements Against the Tech Pack
Measure the sample before it is worn, then compare every point of measure with the latest tech pack. Do not restrict the check to bust, waist and hip. Small dimensional changes can alter the support, comfort and visual effect of shapewear significantly.
Common points to measure include:
| Garment area | What to verify | Why it matters |
|---|---|---|
| Body length | Front, back and crotch length | Affects torso comfort and rolling risk |
| Bust and underbust | Circumference, cup dimensions and elastic length | Influences containment, support and pressure |
| Waist | Relaxed and stretched measurement | Determines shaping effect and ease of dressing |
| Hip and seat | Circumference and panel placement | Affects silhouette and seam placement |
| Leg opening | Circumference, height and elastic stretch | Helps prevent digging-in or riding up |
| Gusset | Width, length, opening alignment and closure position | Affects hygiene, comfort and usability |
| Straps | Length range, width, adjustment range and attachment points | Determines support and fit flexibility |
| Neckline and armhole | Opening dimensions and binding stretch | Affects appearance beneath outerwear and comfort |
Use the defined measuring method for each point. For example, a waist measurement should specify whether it is taken flat, doubled, relaxed, lightly tensioned or at a stated stretch extension. Without this, two reviewers can produce different results from the same garment.
Use tolerances thoughtfully
Tolerance is not permission to ignore a problem. A measurement may fall within its numerical tolerance but still create an unacceptable fit issue when combined with another variation. For example, a slightly shorter body length and a tighter leg opening may together cause the garment to pull down and roll.
Agree tolerance by point of measure, material behaviour and product type. Highly elastic fabrics need clear relaxed and stretched conditions. Critical areas such as gusset placement, bonded panel position and bra support components may need tighter control than a less visible hem length.
Measure at least the submitted size, but do not approve bulk grading on a single size alone. Before production, check a representative size range where possible, particularly if the style uses complex shaping zones, moulded cups, engineered knit panels or multiple body lengths.
Assess Fit, Movement and Wearability
Fit testing should prove that the shapewear can be put on, worn and removed by the intended customer—not merely that it creates the desired silhouette in a static pose.
Ask the fit model to wear the garment for long enough to identify pressure points and recovery issues. Observe the garment during normal movements, including:
- Sitting and standing
- Walking and climbing stairs
- Bending forward and reaching overhead
- Squatting or lunging where appropriate to the product
- Raising and rotating the arms for bodysuits or shaping tops
- Using the gusset opening, if fitted
- Putting the garment on and taking it off without unreasonable difficulty
Check whether the waist rolls, the back edge curls, straps slip, the crotch pulls, leg edges ride up or the neckline becomes visible under likely outer garments. For bodysuits, assess whether the garment stays aligned after sitting and whether the gusset location remains practical across the intended body length range.
Separate firmness from poor fit
A firm garment is not necessarily too small. Equally, a sample that is easy to pull on may not provide the intended shaping. Review compression and fit as related but separate questions:
- Does the customer have enough entry ease to dress safely and comfortably?
- Does the garment settle into its intended position without excessive adjustment?
- Is pressure distributed evenly rather than concentrated at edges or seams?
- Does the size match the chart and expected body measurements?
- Does the garment recover after movement without becoming baggy or distorted?
Use feedback that identifies the location and condition of the issue. “Uncomfortable at the leg” is less actionable than “the lower edge of the leg elastic cuts into the upper thigh after ten minutes of sitting”.
Review Compression and Support Intent
The sample should deliver the level and placement of support specified for the style. This is especially important because terms such as “light control”, “firm shaping” and “high compression” are used differently between brands.
Define the intended result in product terms before approving the sample. For instance:
- Smooth everyday shaping for dresses and skirts
- Midsection control with comfortable all-day wear
- Targeted waist shaping with a stable waistband
- Bust support and lift in a shaping bodysuit
- Seat contouring without flattening or panel show-through
- Thigh smoothing with leg edges designed to stay in place
Assess the garment on an appropriate fit model and under relevant outerwear. A shaping short may look smooth on its own but create visible edge lines beneath a close-fitting dress. A bodysuit may offer good waist control but produce an unnatural bust profile under a woven shirt.
Check the balance of support zones
Map each panel, knit zone, lining or bonded section against the intended support area. Confirm that:
- Higher-compression sections are positioned correctly on the body.
- Reinforcement does not create abrupt ridges under clothing.
- Stretch direction supports the garment’s purpose.
- The garment does not shift when the wearer moves.
- The fabric recovers after being stretched.
- Edge finishes contain the garment without causing pronounced indentation.
Where the product uses a stretch fabric supplied with a stated composition or weight, verify that the delivered sample uses the agreed material—not a substitute that only appears similar. Minor differences in elastane content, fabric construction, finishing or recovery can noticeably change the wearer experience.
Compression is subjective as well as technical. One fit model cannot represent every customer, body shape or sensitivity level. A broader wearer trial can be valuable for core commercial styles, but it should be planned with a consistent questionnaire and clear decision criteria rather than informal opinions alone.
Inspect Seams, Openings and Components
Construction quality determines whether a shapewear garment keeps its fit and appearance through wear. Inspect the inside as carefully as the outside.
Check every seam, bonded edge and join for evenness, security and comfort. Look for skipped stitches, loose thread ends, seam puckering, uneven seam allowance, exposed elastic, twisted bindings and irregular tension. Stretch seams should extend smoothly with the fabric and recover without thread breakage or distortion.
Pay particular attention to high-stress areas:
- Crotch seams and gusset joins
- Strap attachments and adjustment points
- Side seams and waist joins
- Leg opening and neckline elastic
- Hook-and-eye closures or popper tapes
- Cup seams, underbust elastic and bra hardware
- Bonded hems, panels and silicone grip applications
Test useable components, not only their appearance
Where a sample includes adjustable straps, hooks, zips, poppers or gusset closures, operate them repeatedly during the review. Confirm that the component is correctly positioned, easy to use and compatible with the garment’s stretch and recovery.
For a gusset opening, check alignment, overlap, security and comfort while sitting. For straps, test whether the adjusters hold their position and whether the attachment point causes rubbing. For silicone grips or printed grip treatments, confirm their placement and whether they create unwanted rolling, stickiness or visible marks.
A component may be technically functional but still unsuitable for the style. Heavy hardware can pull lightweight shapewear out of shape, while a narrow elastic may be too sharp at the edge for a firm-control product.
For a wider production-control approach, align sample decisions with your shapewear quality assurance process, including the checks to be repeated during bulk manufacture.
Confirm Colour, Labels and Branding
Colour, labelling and branding errors are costly to correct once bulk production has started. Review them against approved physical or digital masters, but remember that a screen image alone is rarely enough for colour-critical decisions.
Inspect colour under suitable lighting and compare it with the approved reference. Check the main fabric, mesh, elastics, thread, binding, lining and components together. A close shade mismatch may be more visible when the garment stretches or when adjacent materials have different surface finishes.
Confirm the following:
- Correct colour name and internal colour code
- No unwanted variation between panels or components
- Branding position, scale and orientation
- Print clarity and durability on labels or transfer marks
- Correct size marking and placement
- Fibre content, care information and country-of-origin details as applicable to the intended market
- Legibility of care labels against the chosen base colour
- Packaging artwork, barcode data and style references where included in the approval scope
Review labels for comfort and compliance readiness
Care labels and size labels should remain readable, securely attached and comfortable against the skin. A label may contain the correct information yet be too stiff, too large or placed where it irritates the wearer.
Legal labelling obligations can vary by selling market, product composition and distribution route. Confirm the current requirements for the markets in which the product will be sold, rather than assuming that an existing label format is suitable for every destination. The sample approval record should show which artwork and label version was approved.
Record Defects, Decisions and Revisions
Every sample review should end with a documented decision. Verbal approval or scattered comments in email create avoidable disputes later, particularly when several teams and suppliers are involved.
Use one review record per style, colour and sample stage. Include:
- Style name, code, size and sample stage
- Date reviewed and reviewers
- Tech pack and artwork revision numbers
- Material and component references used in the sample
- Measurement results against target and tolerance
- Fit, function and workmanship findings
- Photos showing defects and the affected location
- Clear corrective action for each issue
- Owner responsible for the action
- Required resubmission stage and date, if applicable
- Final decision status
A simple decision framework keeps the process consistent:
| Decision | When to use it | What happens next |
|---|---|---|
| Approved | All critical requirements are met | Proceed to sealing and agreed production controls |
| Approved with minor comments | Small issues do not affect fit, function, safety, branding or bulk consistency | Record corrections and confirm they will be implemented |
| Revise and resubmit | The sample has correctable issues requiring confirmation | Submit a revised sample for review |
| Rejected | The design, material, fit or construction is fundamentally unsuitable | Rework the development approach before another sample |
Classify issues by risk
Not every defect has the same consequence. Classify issues so the team does not overlook a serious concern while discussing minor aesthetics.
- Critical issues: Could affect safety, legal labelling, basic usability or make the garment unfit for sale.
- Major issues: Affect fit, support, durability, visible appearance or customer satisfaction.
- Minor issues: Do not materially alter function but should be corrected for consistency and finish.
Avoid comments that leave room for interpretation. “Improve stitching” should become “use even coverstitch tension at both leg openings; no skipped stitches or visible tunnelling when stretched”. Clear comments help prevent repeated sampling cycles and give production teams an objective standard.
Approve a Sealed Production Reference
The final approval should result in a sealed production reference: the physical and documented benchmark for bulk manufacturing. It is the agreed answer to the question, “What exactly should production match?”
The sealed reference should be the correct size and colourway, made with the approved bulk-intent materials, trims, construction and branding. Attach or store it with its corresponding signed approval record, measurement report, colour reference and defect-resolution notes.
Before authorising production, perform a final compatibility check:
- Are all approved materials available in the specified construction and colour?
- Do bulk-intent elastics, threads, labels and hardware match the sealed sample?
- Are all sample comments reflected in the current tech pack?
- Has the factory received the correct artwork and measurement revisions?
- Have packing requirements been confirmed where relevant?
- Are in-line and final inspection criteria agreed?
- Has the team agreed what changes require reapproval?
Do not permit silent substitutions. A change in fabric mill, elastic width, bonding film, label material or component finish can alter fit, recovery, colour or comfort. If a substitution is necessary, assess its impact and decide whether a new sample approval is required.
For brands developing a new range, it is worth clarifying early whether the supplier will work from your existing specification or support an OEM, ODM or private-label shapewear project. The approval controls should remain the same, but the ownership of design, patterns, materials and development decisions may differ.
Common Sample Approval Mistakes to Avoid
The most frequent approval failures are procedural rather than dramatic. Avoid these common mistakes:
- Approving from photographs rather than inspecting a physical sample.
- Reviewing only one static fitting position.
- Comparing to an outdated tech pack.
- Ignoring the difference between sample materials and bulk-intent materials.
- Measuring stretch garments without an agreed method.
- Treating “firm control” as a substitute for defined support expectations.
- Approving labels and packaging separately without checking the final assembled garment.
- Accepting vague corrective-action comments.
- Sealing a sample that still contains known deviations.
- Failing to record who has authority to approve changes after sealing.
FAQ
How many shapewear samples are normally needed before production?
The number depends on the complexity of the style and the quality of the first development submission. A straightforward shaping brief may require fewer rounds than a bodysuit with moulded cups, bonded panels, multiple support zones and custom hardware. The key is not the number of samples but whether each stage has a defined purpose and documented closure of previous comments.
Should a shapewear sample be tested after washing?
Where the care method and material performance are important to the product, test a sample after the intended care process before bulk approval. Check dimensional change, colour appearance, seam condition, elastic recovery, bonded areas, print and overall support. Confirm the specific wash method, number of cycles and acceptance criteria in advance.
Can a size-set sample replace a fit sample?
No. A size set is primarily used to assess grading and consistency across sizes. It does not replace the earlier work needed to confirm silhouette, construction, support placement and wearer experience in the base size.
What should be kept with the approved sample?
Keep the physical sealed sample, signed approval form, final tech pack, measurement report, approved colour reference, trim and label artwork, and a record of any agreed production exceptions. These documents provide a practical reference if questions arise during manufacturing or inspection.
A disciplined shapewear sample approval checklist reduces ambiguity before bulk production and gives every team a shared standard for fit, function and finish. When assessing S-SHAPER UK or another manufacturing partner, ask how its development and production teams maintain this link between approved samples and series output; the factory capabilities page provides useful context for that discussion.