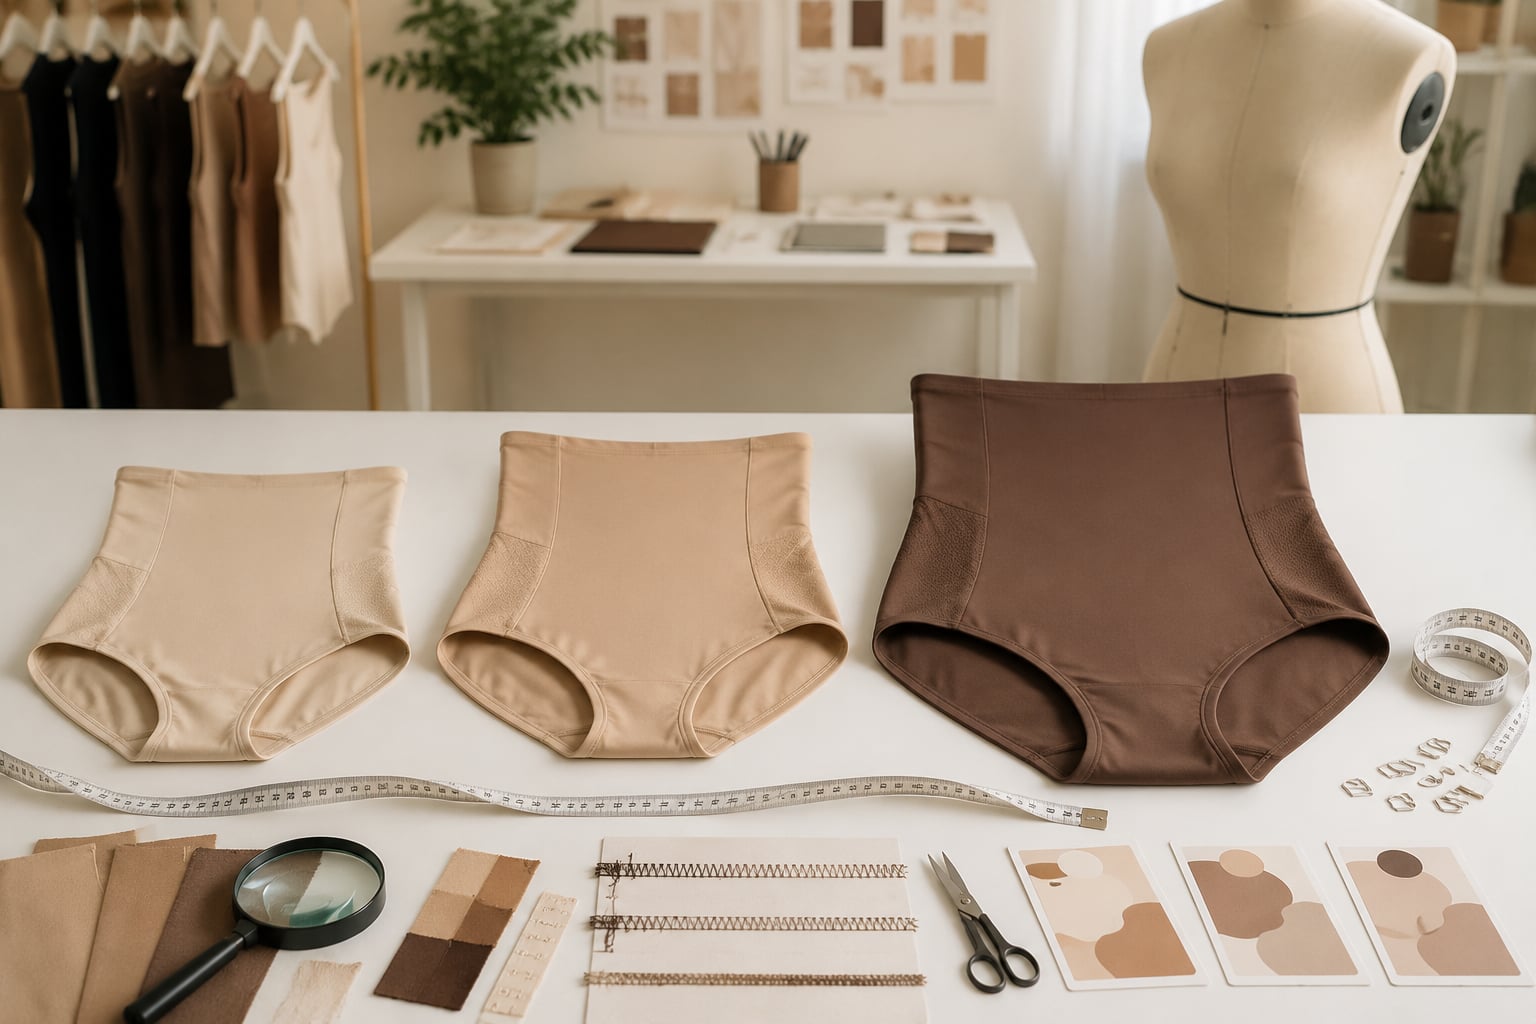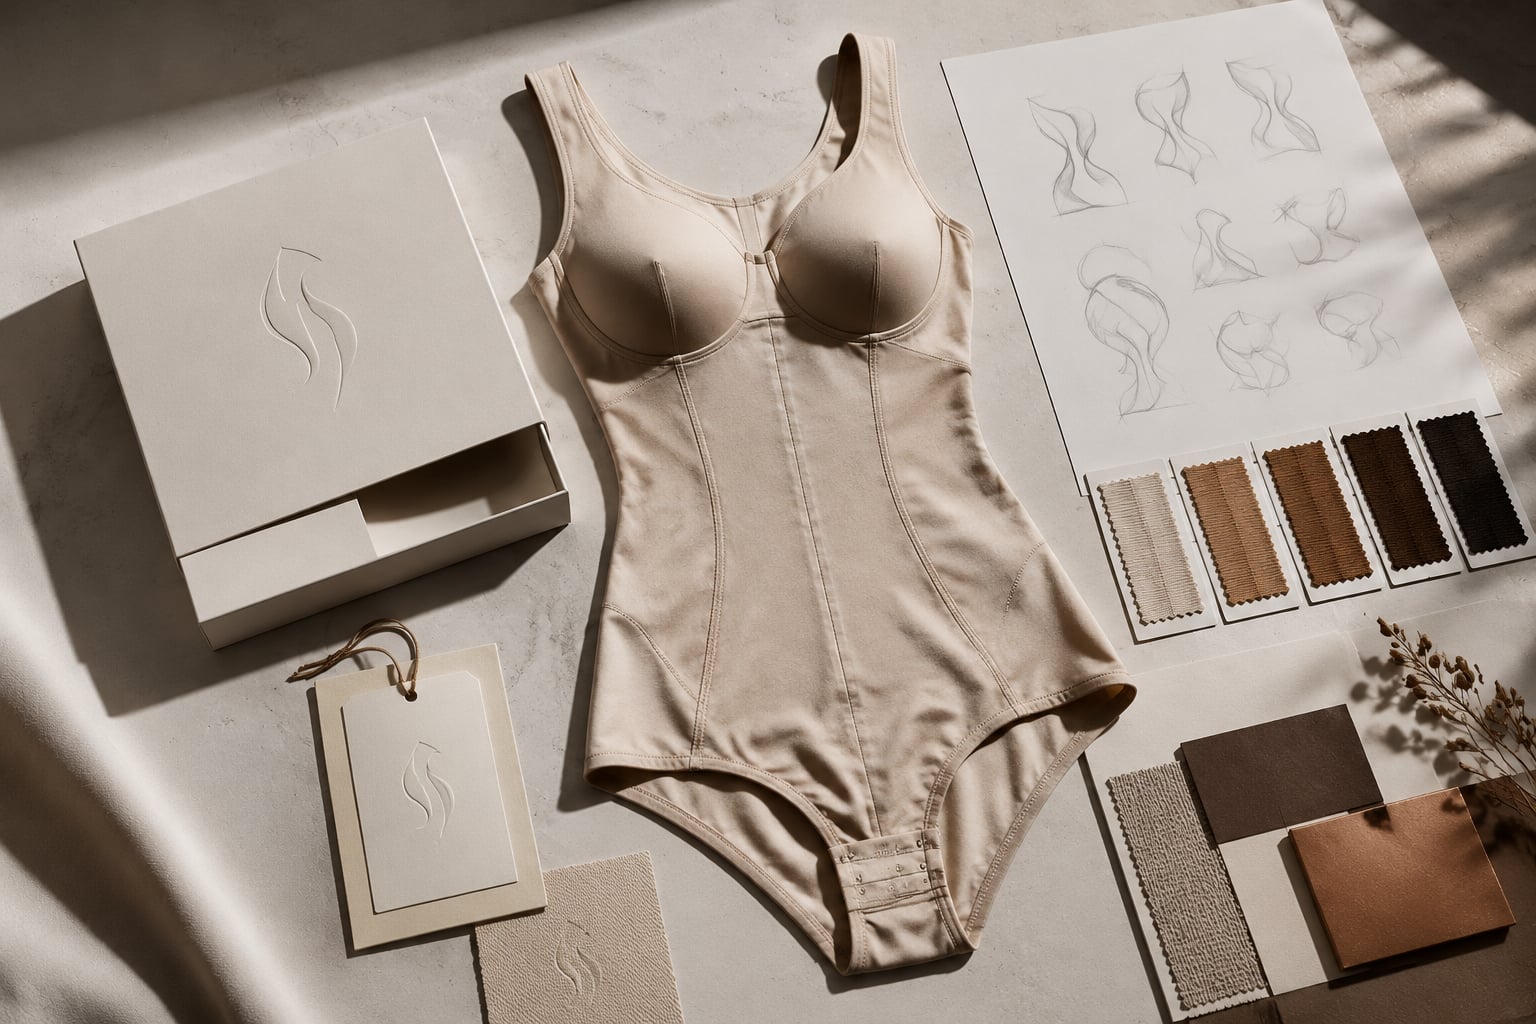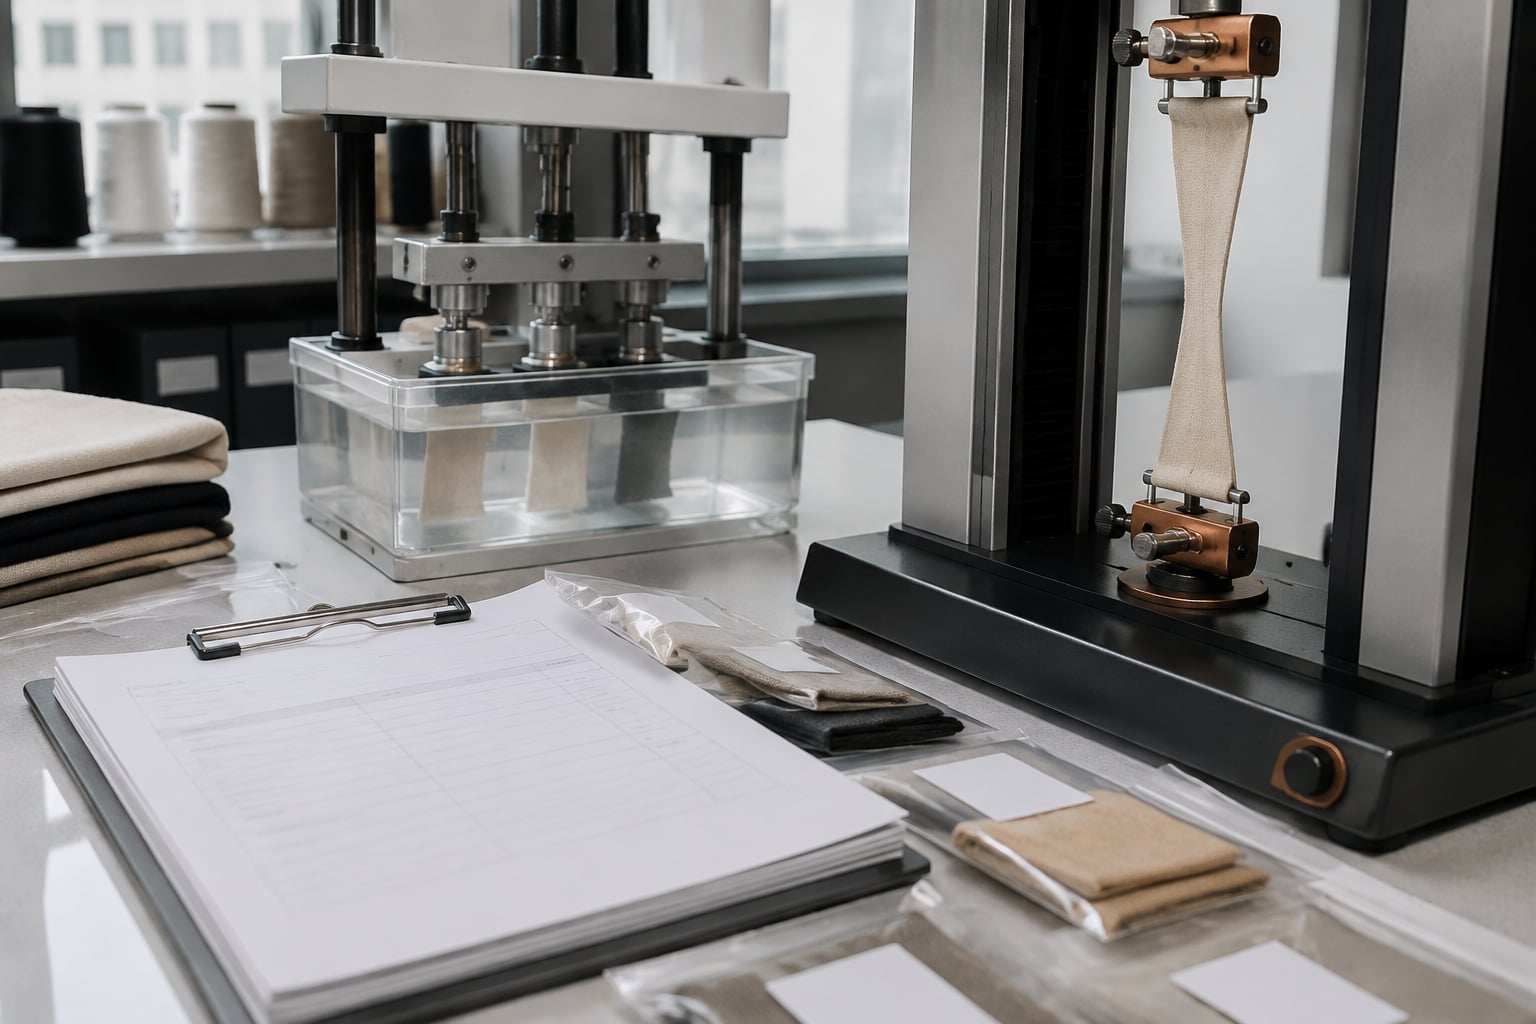
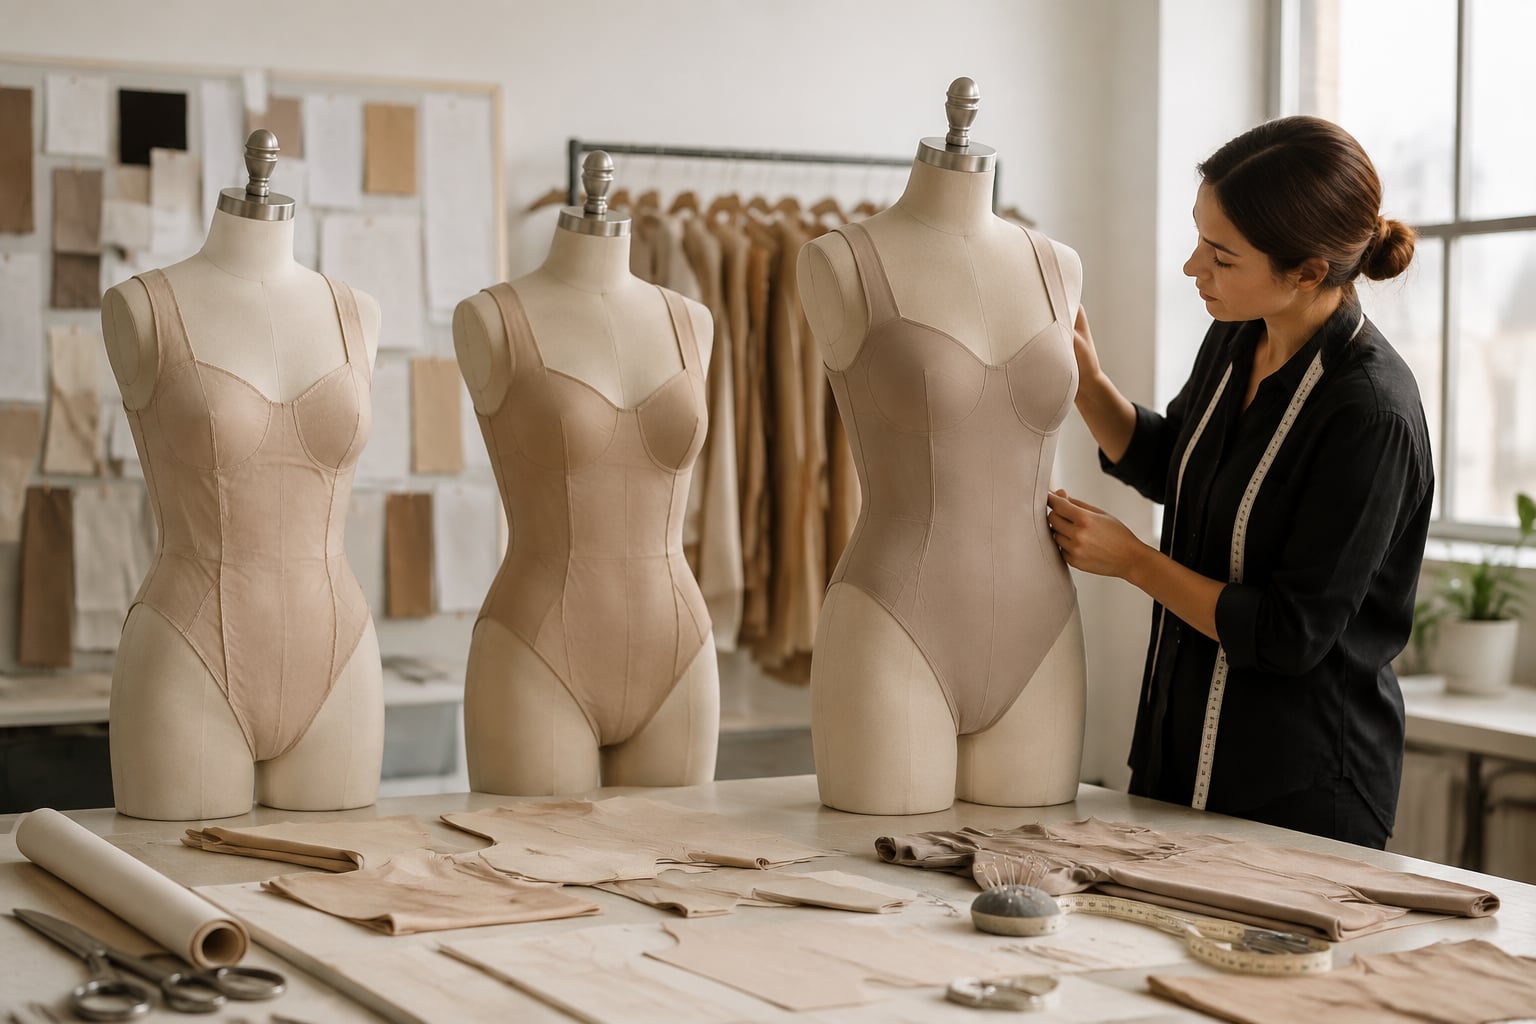
Shapewear sample development is the controlled process of turning a product idea into a fit-approved, technically documented reference for production. The fastest route is not simply requesting a “sample”; it is defining the intended wearer, compression level, construction, materials, measurements, and approval criteria before the first prototype is cut.
For German brands and sourcing teams, a well-managed development process reduces costly rework, avoids fit inconsistencies between sizes, and creates a clearer basis for comparing OEM, ODM, and private-label suppliers. The final goal is a signed-off reference sample that matches a complete production specification—not just a sample that looks acceptable in a meeting.
Prepare a Complete Product Brief
A product brief is the decision document for the development team. It should answer what the garment must do, who it is for, how it should feel, and which features are non-negotiable.
Shapewear is particularly sensitive to incomplete briefs because its performance depends on the interaction between pattern, fabric recovery, panel placement, seam construction, and body fit. A brief that says “high-waist shaping shorts in black” is not enough. A supplier still needs to know where shaping should be strongest, whether the waistband may roll, how the leg opening should behave, and what level of comfort is expected during extended wear.
Include the following information before requesting a first sample:
- Product type: for example, shaping brief, bodysuit, high-waist shorts, thigh slimmer, shaping camisole, or postural support garment.
- Target customer and use case: everyday smoothing, occasionwear, high-compression shaping, postpartum-oriented support, or layering beneath specific apparel.
- Target fit and size range: define the base size and the intended size scale. For the German market, clarify whether sizing follows EU numeric sizing, letter sizing, or both.
- Compression objective: light smoothing, medium shaping, firm control, or zonal compression. Avoid vague terms such as “strong but comfortable” unless they are supported by practical criteria.
- Body zones: identify where support is needed—abdomen, waist, lower back, hips, thighs, buttocks, bust, or upper torso.
- Silhouette and coverage: rise height, leg length, neckline, back shape, gusset design, strap placement, and opening requirements.
- Appearance: colour, sheen or matte finish, transparency, trim visibility, logo placement, packaging direction, and care-label requirements.
- Technical expectations: no-roll waistband, anti-slip treatment, bonded edges, seamless appearance, removable straps, hook-and-eye closure, open bust, or reinforced tummy panel.
- Target retail position: this helps set realistic expectations for materials, construction complexity, packaging, and sample iterations.
A useful brief separates requirements into three categories:
| Category | Meaning | Example |
|---|---|---|
| Must-have | Cannot change without reapproval | Firm abdominal panel and no visible leg hem under fitted dresses |
| Preferred | Desirable, but may be reviewed | Silicone grip at the waistband |
| Open for development | Supplier can recommend an option | Exact knit structure for a breathable side panel |
Include visual references, but label what each image is intended to show. One reference might demonstrate the desired silhouette, while another shows a preferred leg finish. Without notes, a supplier may assume every detail must be copied.
Define measurable acceptance criteria
The most useful product briefs include measurable or observable standards. Examples include:
- Waistband must remain in position during normal sitting and walking.
- Gusset must sit comfortably without excessive tension.
- Leg openings must not create a pronounced edge under a lightweight dress.
- Compression panel must be centred and symmetrical.
- Garment must recover its shape after normal stretch handling.
- Labels, care instructions, fibre composition, and size marking must be planned for the intended sales market.
These are development criteria rather than guarantees. Final testing methods, tolerances, and market obligations should be confirmed with the relevant technical and compliance teams.
Choose the Development Starting Point
The starting point determines how much design freedom, development time, and technical risk a project will involve. Most shapewear projects begin in one of three ways: an existing supplier style, a modified base style, or a fully new product.
| Starting point | Best for | Advantages | Points to check |
|---|---|---|---|
| Existing catalogue or ODM style | Faster market entry | Existing pattern and construction basis | Confirm fit, materials, branding options, size range, and exclusivity terms |
| Modified base style | A differentiated product with manageable risk | Reuses proven elements while changing key details | Ensure changes do not undermine fit or compression balance |
| Fully custom OEM development | A distinct fit, construction, or brand concept | Maximum control over product direction | Requires fuller technical input, more reviews, and careful documentation |
An ODM starting point can be suitable when the desired product category already exists and the brand mainly needs its own colourway, logo, labels, packaging, or selected feature changes. It may also be appropriate for teams that want to assess material quality and fit before investing in bespoke development.
A custom OEM project is more appropriate when the product depends on a unique shaping map, a proprietary visual identity, unusual pattern lines, a specific closure system, or a new silhouette. It requires stronger internal decision-making because every unresolved point can affect subsequent samples.
For a clearer view of the two approaches, review the available OEM and ODM shapewear development options. The key question is not which route is universally better; it is whether the existing platform genuinely supports the product promise your brand intends to make.
Do not confuse a close-looking style with a compatible base
Two high-waist shorts may look nearly identical on a hanger but behave very differently on the body. Their waistband elasticity, panel tension, crotch length, leg circumference, fabric weight, and seam placement can all change comfort and shaping performance.
Before adapting a base style, ask for confirmation of:
- Base-size measurements and grading approach
- Fabric composition and weight or construction details where available
- Main shaping zones and reinforcement method
- Existing fit model assumptions
- Available colours and component options
- Which changes require a new pattern rather than a simple revision
- Whether altered trims, fabrics, or panel shapes affect the original fit
Confirm Materials and Components
Materials are not a finishing choice in shapewear; they are part of the product’s engineering. A pattern developed with one stretch fabric may not perform the same way when made in another fabric with different elongation, recovery, weight, or power.
Confirm fabric selections early enough that the first sample reflects the intended product direction. If development begins in substitute material, record this clearly and do not use the resulting fit feedback as though it were final.
Assess fabrics by performance, not composition alone
Fibre composition is important for labelling and consumer communication, but it does not alone define shapewear performance. For each main fabric and panel material, consider:
- Stretch in width and length
- Recovery after extension
- Compression or power
- Opacity under stretch
- Surface feel against skin
- Breathability and moisture handling
- Resistance to rolling at edges
- Compatibility with seams, bonding, printing, and elastic trims
- Colour consistency and colourfastness requirements
- Behaviour after washing according to the proposed care instructions
A polyamide-elastane blend, for example, can vary substantially depending on knit structure, yarn type, fabric weight, and elastane content. Request the actual material option for review rather than relying on composition wording alone.
Specify every functional component
Small components frequently create the most visible product problems. Document them separately, including position, dimensions where needed, colour, finish, and approved alternatives.
Common shapewear components include:
- Waist elastics and anti-roll bands
- Silicone or other grip applications
- Power mesh or reinforced lining
- Hook-and-eye tapes
- Adjustable or fixed straps
- Underbust elastic
- Gusset fabric and snap closures
- Bonding film or tape
- Decorative lace, mesh, or logo elastic
- Woven, printed, heat-transfer, or care labels
Check whether the component is compatible with the garment’s stretch direction and use case. A rigid decorative trim can distort an otherwise flexible neckline. Silicone gripping can improve hold, but placement, skin contact, wash performance, and the final intended application must be assessed as part of development.
Where a product includes bonded edges or advanced knit structures, it is useful to discuss the relevant shapewear technologies and innovation options before locking the design. These methods can change appearance and comfort, but they also require suitable material and construction choices.
Create the First Sample
The first sample is a learning tool, not a production approval. Its purpose is to test whether the chosen pattern, material combination, and construction can deliver the intended silhouette and wearing experience.
For a new custom product, the first sample may reveal fundamental issues: too much tension at the waist, insufficient abdominal control, a short rise, poor bust placement, or leg openings that cut into the thigh. This is normal. The risk arises when teams expect the first sample to be production-ready and make rushed decisions based only on appearance.
When submitting a sample request, provide the development team with:
- The approved product brief and technical sketches.
- The required base size and intended fit model information.
- A measurement chart, if one already exists.
- Material and trim choices, including approved substitutes if necessary.
- Artwork files for branding or label placement.
- A clear list of questions that the first sample must answer.
- Any reference garment, clearly marked as visual inspiration or construction reference rather than a copy instruction.
Fit samples should be reviewed on a relevant body
Flat measurements matter, but shapewear must also be assessed while worn. Ideally, fit review uses a fit model whose body measurements align with the target base size. If that is not possible, record the difference between the fit model and intended size standard so the review is interpreted correctly.
During a wear review, assess the garment in standing, sitting, walking, bending, and arm-raising positions where relevant. Consider the outer clothing it is designed to support. A brief intended for use under knit dresses may need a different edge solution from shorts worn beneath tailored trousers.
Review Measurements, Fit and Construction
Sample review should follow a repeatable order. Start with objective checks, then assess fit and appearance, then inspect construction. This prevents a visually appealing sample from masking a poor measurement or comfort issue.
Check measurements before subjective feedback
Measure the garment according to an agreed method and compare it with the current specification. For stretch products, specify whether a point is measured relaxed, under a defined extension, or on a fit model. Otherwise, teams may produce inconsistent results from the same garment.
Typical measurement points include:
- Waist width and waistband height
- Front and back rise
- Hip width
- Leg opening circumference or width
- Inseam and outseam
- Body length for bodysuits
- Bust, underbust, and strap lengths where applicable
- Gusset width and length
- Placement of shaping panels, closures, and labels
Tolerance ranges should be set according to the product and measurement point. A one-size approach to tolerances is rarely suitable for shapewear, especially around functional stretch areas.
Evaluate fit, shaping and comfort separately
A garment can have correct flat measurements but still fail in wear. Review these areas independently:
Fit: Does the garment align with the body at the waist, hips, crotch, bust, and leg? Are the front and back rises appropriate?
Shaping: Is control located in the intended zone? Does reinforcement smooth the area without creating a new indentation elsewhere?
Comfort: Is pressure manageable for the intended wear period? Do seams, closures, labels, grips, or elastic edges irritate or restrict movement?
Appearance under clothing: Are edges visible? Does the garment create lines, bulk, shine, or unintended compression marks?
Construction: Are seams balanced, symmetrical, cleanly finished, and suitable for the fabric stretch? Are panels aligned? Is the gusset secure and correctly positioned?
Common problems to catch early include rolling waistbands, leg openings that ride upward, a gusset that pulls forward or backward, uneven panel tension, twisting side seams, insufficient recovery, and shaping panels that show through light outerwear.
Record Corrections Clearly
Unstructured feedback creates repeat errors. Comments such as “make it more comfortable” or “improve the waist” leave too much room for interpretation. Every correction should identify the issue, location, intended change, priority, and evidence.
A practical sample comment sheet can use the following fields:
| Field | What to record |
|---|---|
| Sample identification | Style name, version, colour, size, date, and sample stage |
| Issue location | For example, centre-front waistband, left leg opening, lower abdomen panel |
| Observation | What happened during measurement or wear review |
| Required correction | Specific change requested |
| Priority | Critical, required before approval, or optional refinement |
| Evidence | Photo reference, measurement result, sketch, or fitting note |
| Supplier response | Feasibility, proposed method, and any effect on fit or cost |
Use annotated photographs for visible issues, but do not rely on photos alone. A photo can show a rolled edge; it may not explain whether the cause is elastic tension, height, fabric recovery, or the pattern shape.
Control revisions and avoid conflicting instructions
Give every sample version a clear identifier, such as V1, V2, or a date-based code. Keep one current master comment sheet. If different departments send separate instructions, assign one person to consolidate the final direction before it goes to the supplier.
This matters when merchandising, design, technical development, and sourcing teams have different priorities. For example, a design request for a narrower waistband may conflict with a technical need to prevent rolling. The decision should be documented, along with the accepted trade-off.
Approve the Reference Sample
The approved reference sample, often called a golden sample, is the physical benchmark for production. It should represent the agreed product as closely as possible in fit, materials, trims, colour, construction, branding, and finishing.
Do not approve a reference sample solely because the fit is acceptable. Approval should cover the complete product package:
- Correct pattern and graded measurement basis
- Approved main fabric and functional panel materials
- Approved elastics, closures, labels, and trims
- Construction and stitch or bonding methods
- Placement of logos, labels, and artwork
- Colour standard or approved colour reference
- Approved size marking and care information
- Packaging and folding approach, if finalised at this stage
- Any agreed measurement tolerances and inspection points
If an element is not final, mark the approval as conditional and state exactly what remains open. A “proceed” message without exceptions can later be interpreted as full approval.
Keep the physical and written approvals aligned
The reference sample is only useful if it matches the specification. If the sample contains an unrecorded hand adjustment, alternative trim, or temporary label, the production team may not know which version governs.
Maintain a record of:
- Reference sample identification
- Approval date and approver
- Photographs of key details
- Approved measurement chart
- Bill of materials
- Construction notes
- Known deviations, if any
- Final approval status for each item
The reference sample should be handled as a controlled reference rather than an informal showroom piece.
Prepare the Production Specification
A production specification, often called a tech pack or production pack, translates the approved sample into instructions that can be repeated across sizes and production batches. It is the bridge between development approval and scalable manufacturing.
A complete shapewear production specification should include:
- Style overview: style code, product name, category, season or collection reference, and revision history.
- Technical drawings: front, back, and detail views with panel lines, seams, closures, labels, and branding positions.
- Measurement specification: base size, grade rules, points of measure, method, and tolerances.
- Bill of materials: each fabric, elastic, lining, label, closure, thread, print, and packaging component.
- Construction instructions: seam types, stitch density where relevant, bonding details, reinforcement, finishing, and edge treatments.
- Colour and artwork instructions: approved colour references, logo artwork, print placement, and size-label information.
- Quality checkpoints: critical areas to inspect, including panel symmetry, stretch direction, waistband behaviour, and closure security.
- Packaging requirements: folding, inserts, hangtags, barcode placement, polybag requirements, and carton marking where applicable.
- Compliance review points: fibre-content declarations, care information, and product labelling requirements for the intended market should be checked with the responsible specialists.
For Germany and other EU sales markets, ensure that the information presented to consumers and on the product is planned early, rather than added after the pattern and labels are already approved. Requirements can depend on the product, selling channel, materials, and markets where the garment will be placed.
Common Mistakes in Shapewear Sample Development
The most frequent development delays are avoidable.
- Approving fit with substitute materials: a lower-power or higher-power substitute can invalidate the fitting result.
- Testing only on a hanger: shapewear performance can only be understood on a relevant body and under movement.
- Changing several variables at once: if fabric, pattern, waistband, and leg finish all change in one revision, it becomes difficult to identify what improved or worsened the fit.
- Ignoring size grading until late: a good base-size sample does not guarantee that smaller and larger sizes will fit correctly.
- Treating compression as a single garment-wide value: most effective shapewear uses different support levels in different zones.
- Leaving edge finishes until the end: waistband and leg finishes strongly affect rolling, visibility, and comfort.
- Approving from photos only: photographs cannot reliably show recovery, pressure, seam feel, or movement behaviour.
- Using informal feedback channels: untracked messages can result in missed or contradictory corrections.
FAQ
How many shapewear samples are usually needed?
There is no fixed number. A straightforward adaptation of an existing style may need fewer iterations than a new custom garment with zonal compression, bonded finishes, or complex closures. Plan the process around defined approval gates rather than assuming a particular number of samples.
What is the difference between a fit sample and a reference sample?
A fit sample is used to evaluate and correct pattern, materials, and construction. A reference sample is the approved physical standard that supports production once all relevant details have been confirmed.
Should materials be final before the first sample?
Whenever possible, yes. If final materials are unavailable, document every substitute and treat results involving stretch, compression, recovery, colour, and surface appearance as provisional until the intended materials are sampled.
When should size grading be reviewed?
Review grading before production approval, not after. At minimum, verify the size logic and assess representative sizes where the product’s fit risk is highest. This is especially important for bodysuits, longline styles, and garments with firm compression zones.
A disciplined shapewear sample development process gives brands better control over product performance before production begins. Teams evaluating a new OEM, ODM, or private-label project can use the brief, sample review sheet, and production specification above as a practical starting framework. For project-specific development support from concept through scalable series production, contact S-SHAPER’s team.